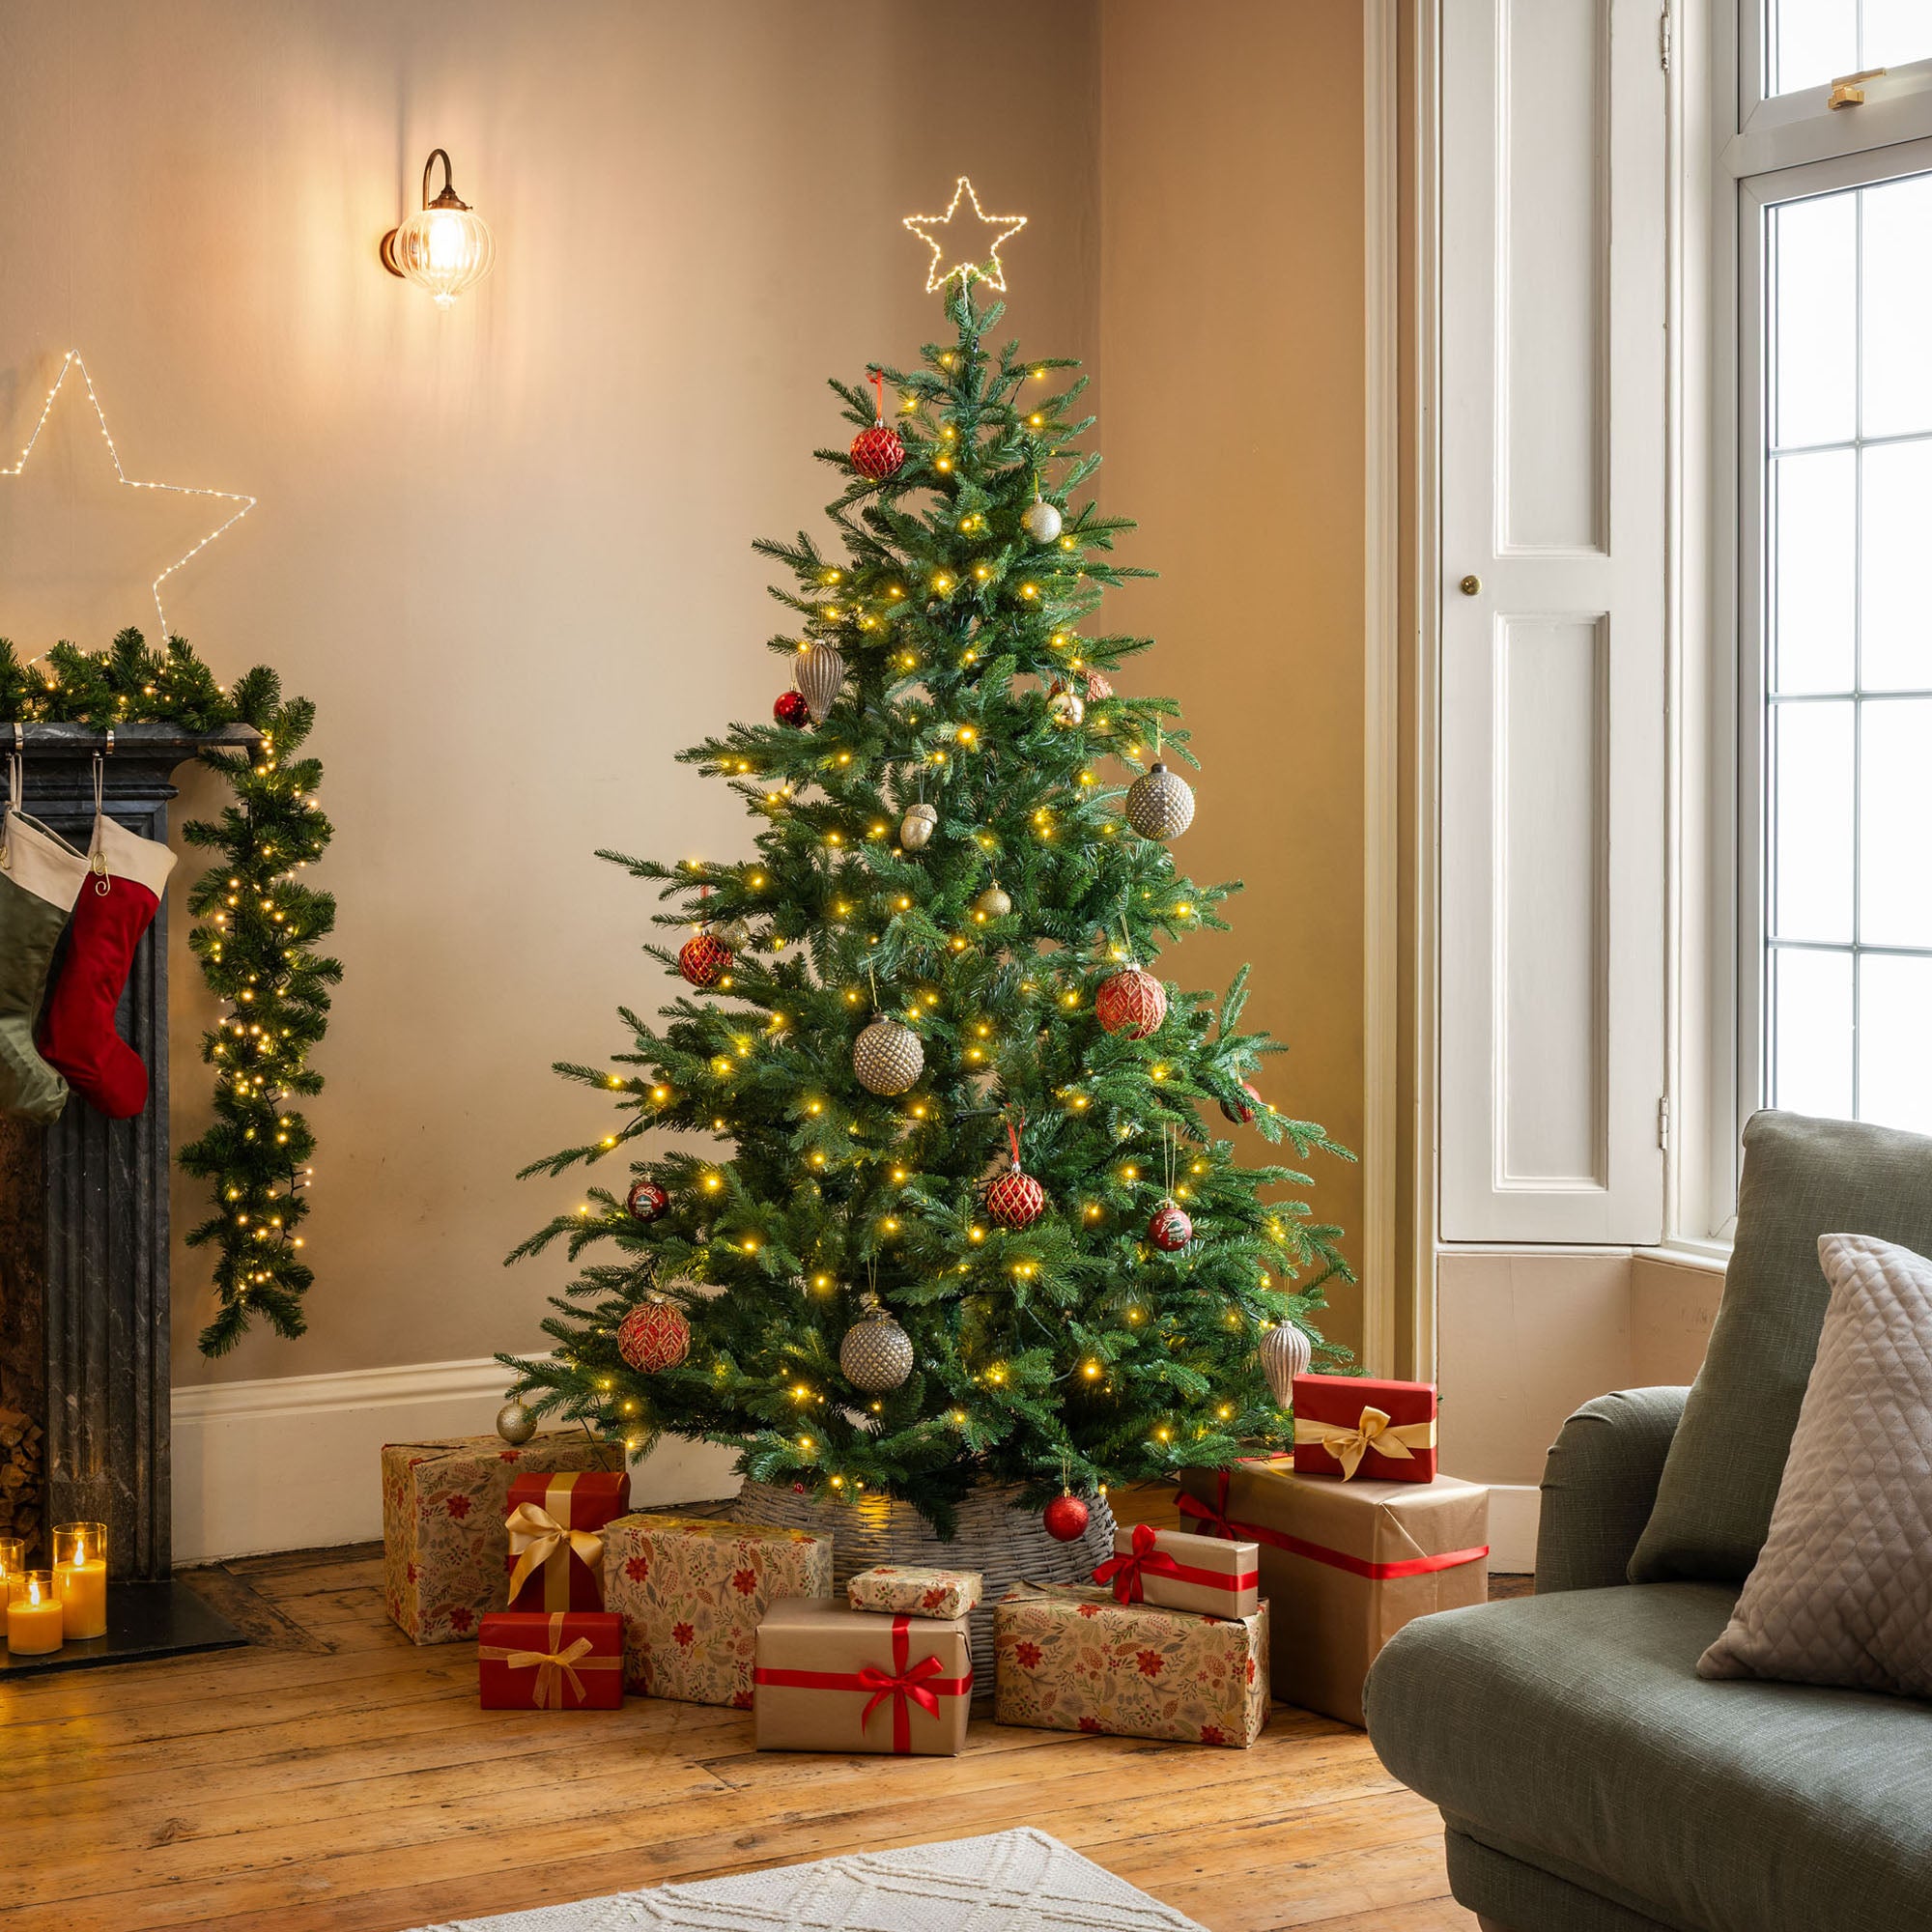


Bought yourself one of our beautiful artificial Christmas trees? Wondering how on earth to make it look like the pics you see on the 'gram? Fear not — we're here to help with our top tips on how to assemble an artificial Christmas tree.
Don’t have a tree yet? What are you waiting for? Explore our Christmas tree collection.
Get Ready

Choosing an artificial tree over a real one saves you a lot of time and effort. For starters, you don't have to chop it down, haul it to your car, and squeeze it in the boot. Also, you can reuse it every year! However, when it arrives at your door, it will require some time and attention to make it look its best.
We recommend giving yourself a couple of hours to assemble and decorate your tree. So, why not grab a friend, open a bottle of wine, and chuck on a Christmas playlist to make the most of your experience?
Before you start, make sure you have all the parts you need. The manual provided includes a list of parts, but as a rough guideline, you should have a tree and a stand. For easy assembly, each section slots together and the stand has screws to secure it to the base. Also, consider where you plan to place your tree — you don’t want it too wide or too tall. Assemble it as close as possible to its final spot and don’t forget to leave room for a topper!
Secure the Base
There are two main types of stands for artificial Christmas trees:
Plastic Stands

Smaller trees tend to come with a plastic stand. To assemble, slot the legs into the centre piece and push them in firmly. This ensures stability. Then, attach the tree by pushing the bottom pole into the stand.
Metal Stands

Larger trees usually come with a metal stand. Simply fold it open into an X-shape with all four legs equally spaced. Insert the tree’s bottom pole into the centre hole and tighten with the supplied eyebolt screws.
Assemble the Branches

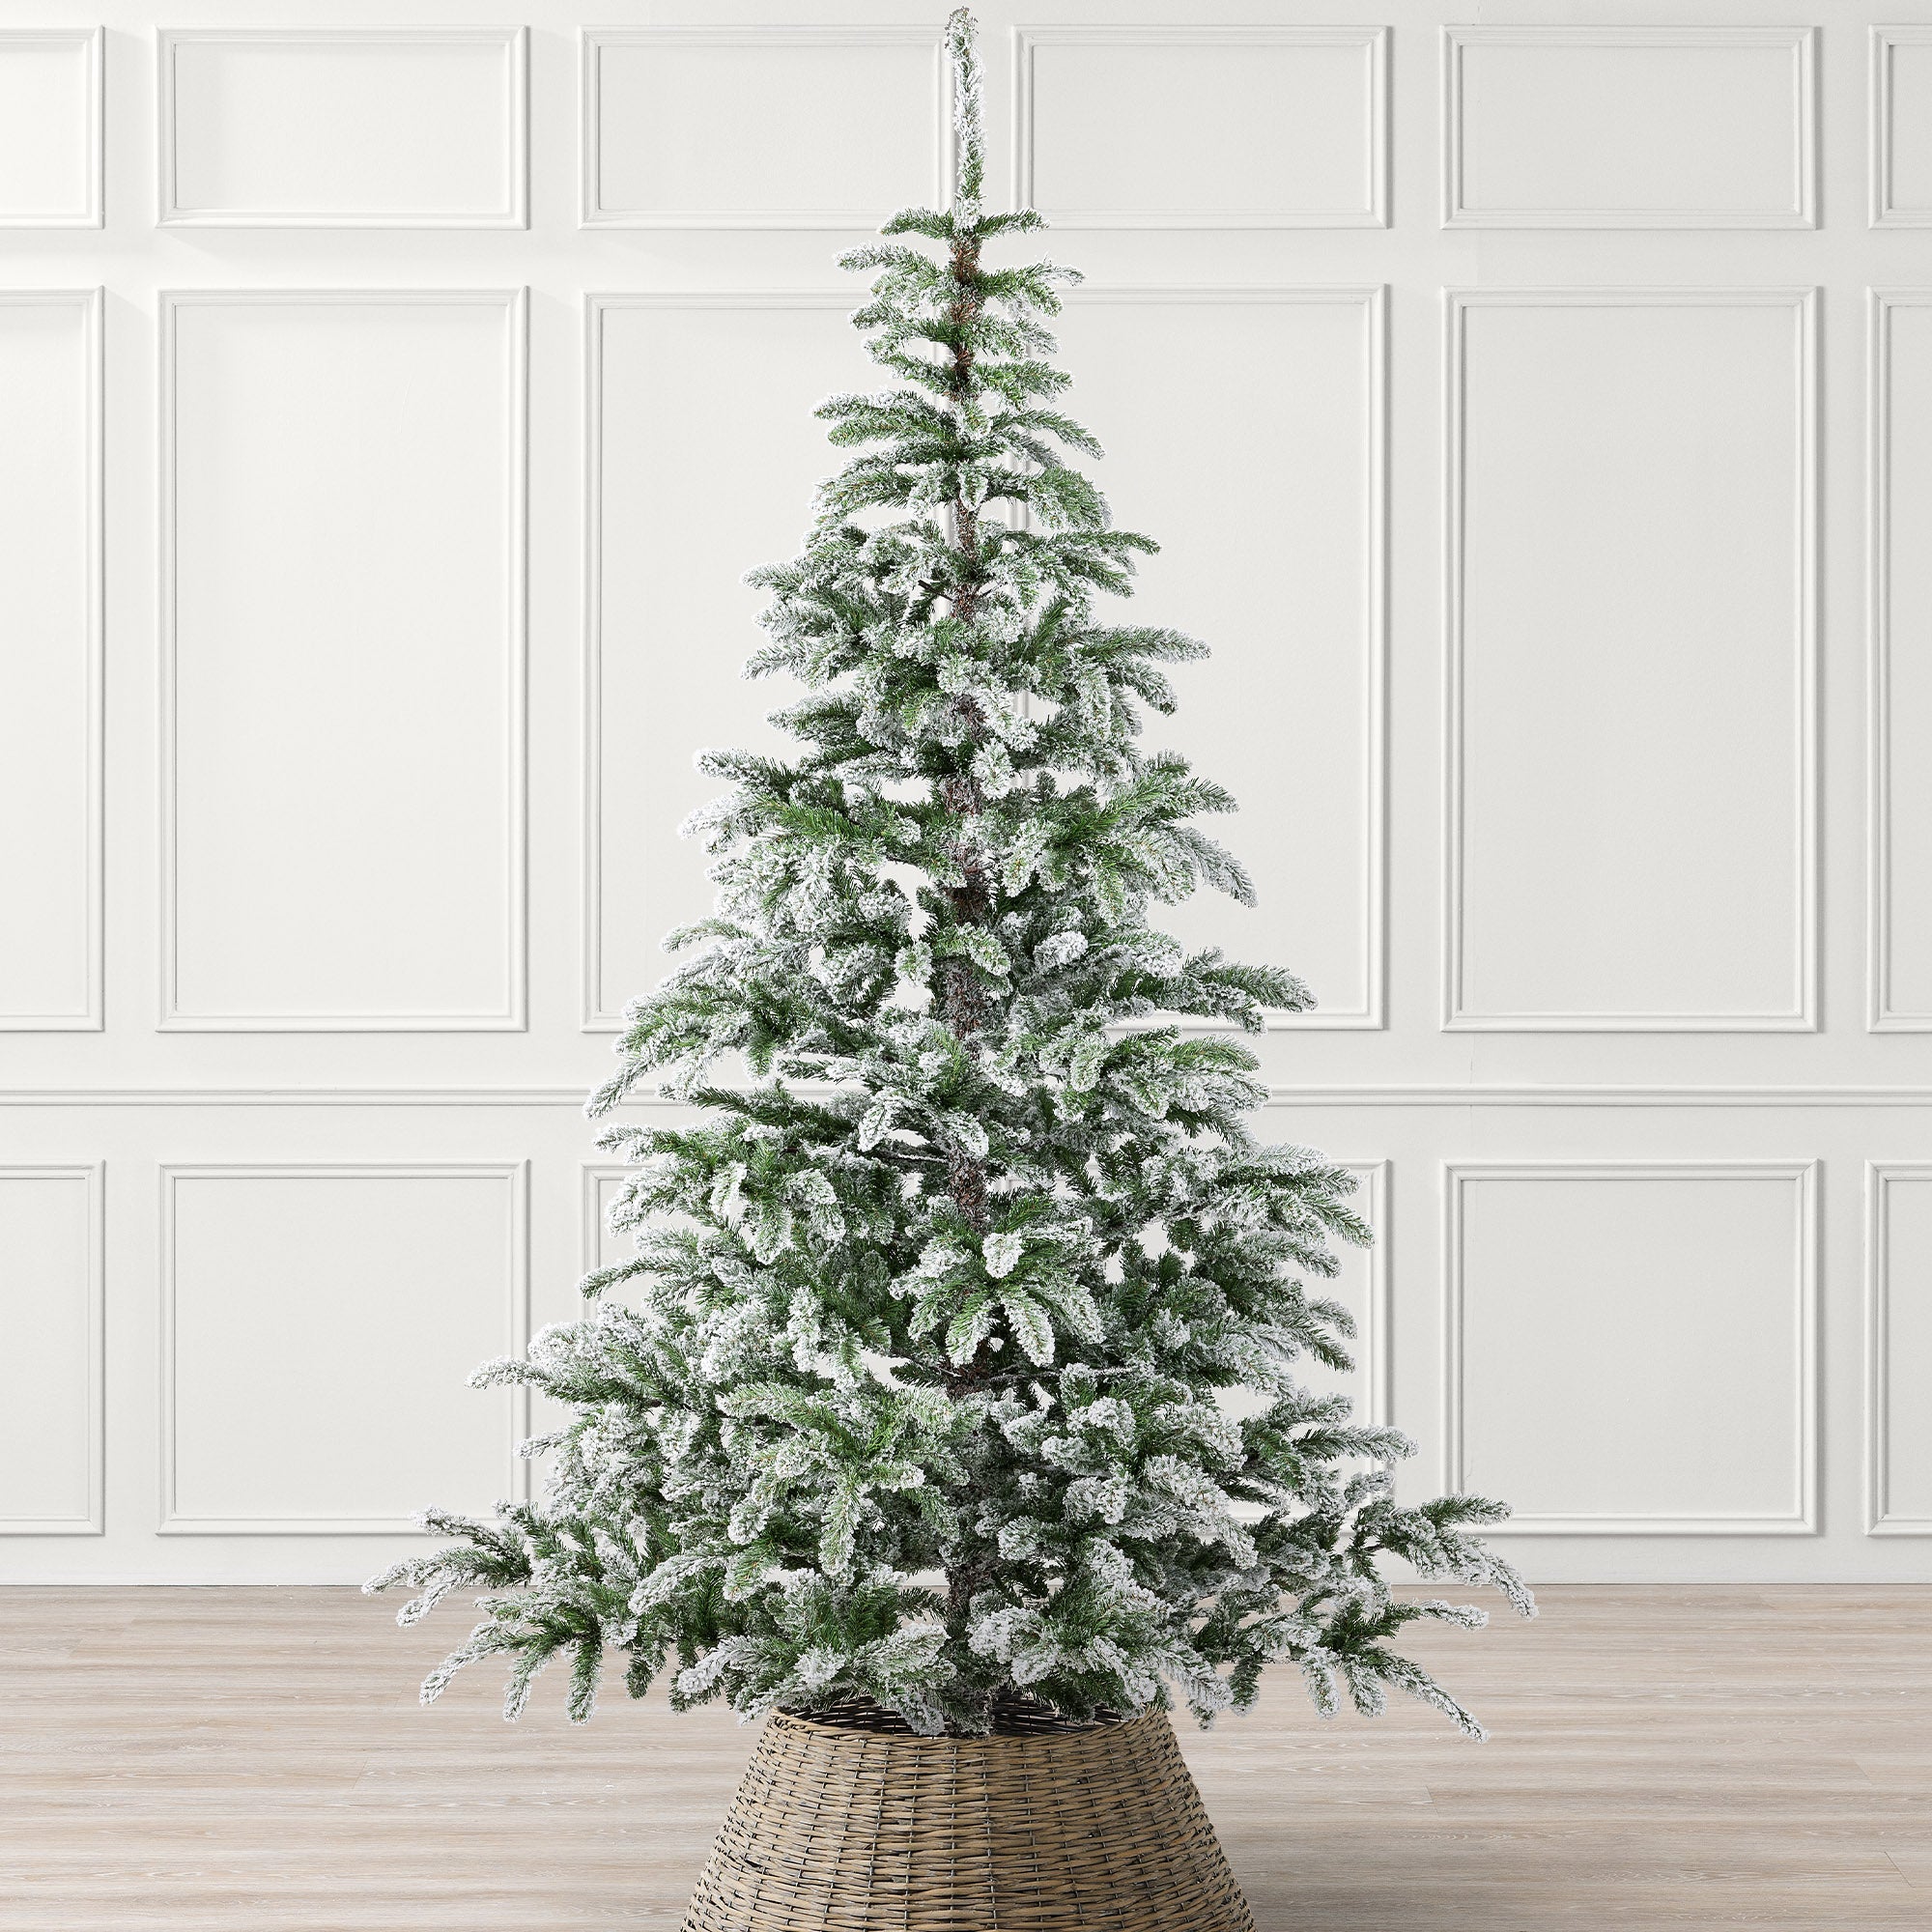
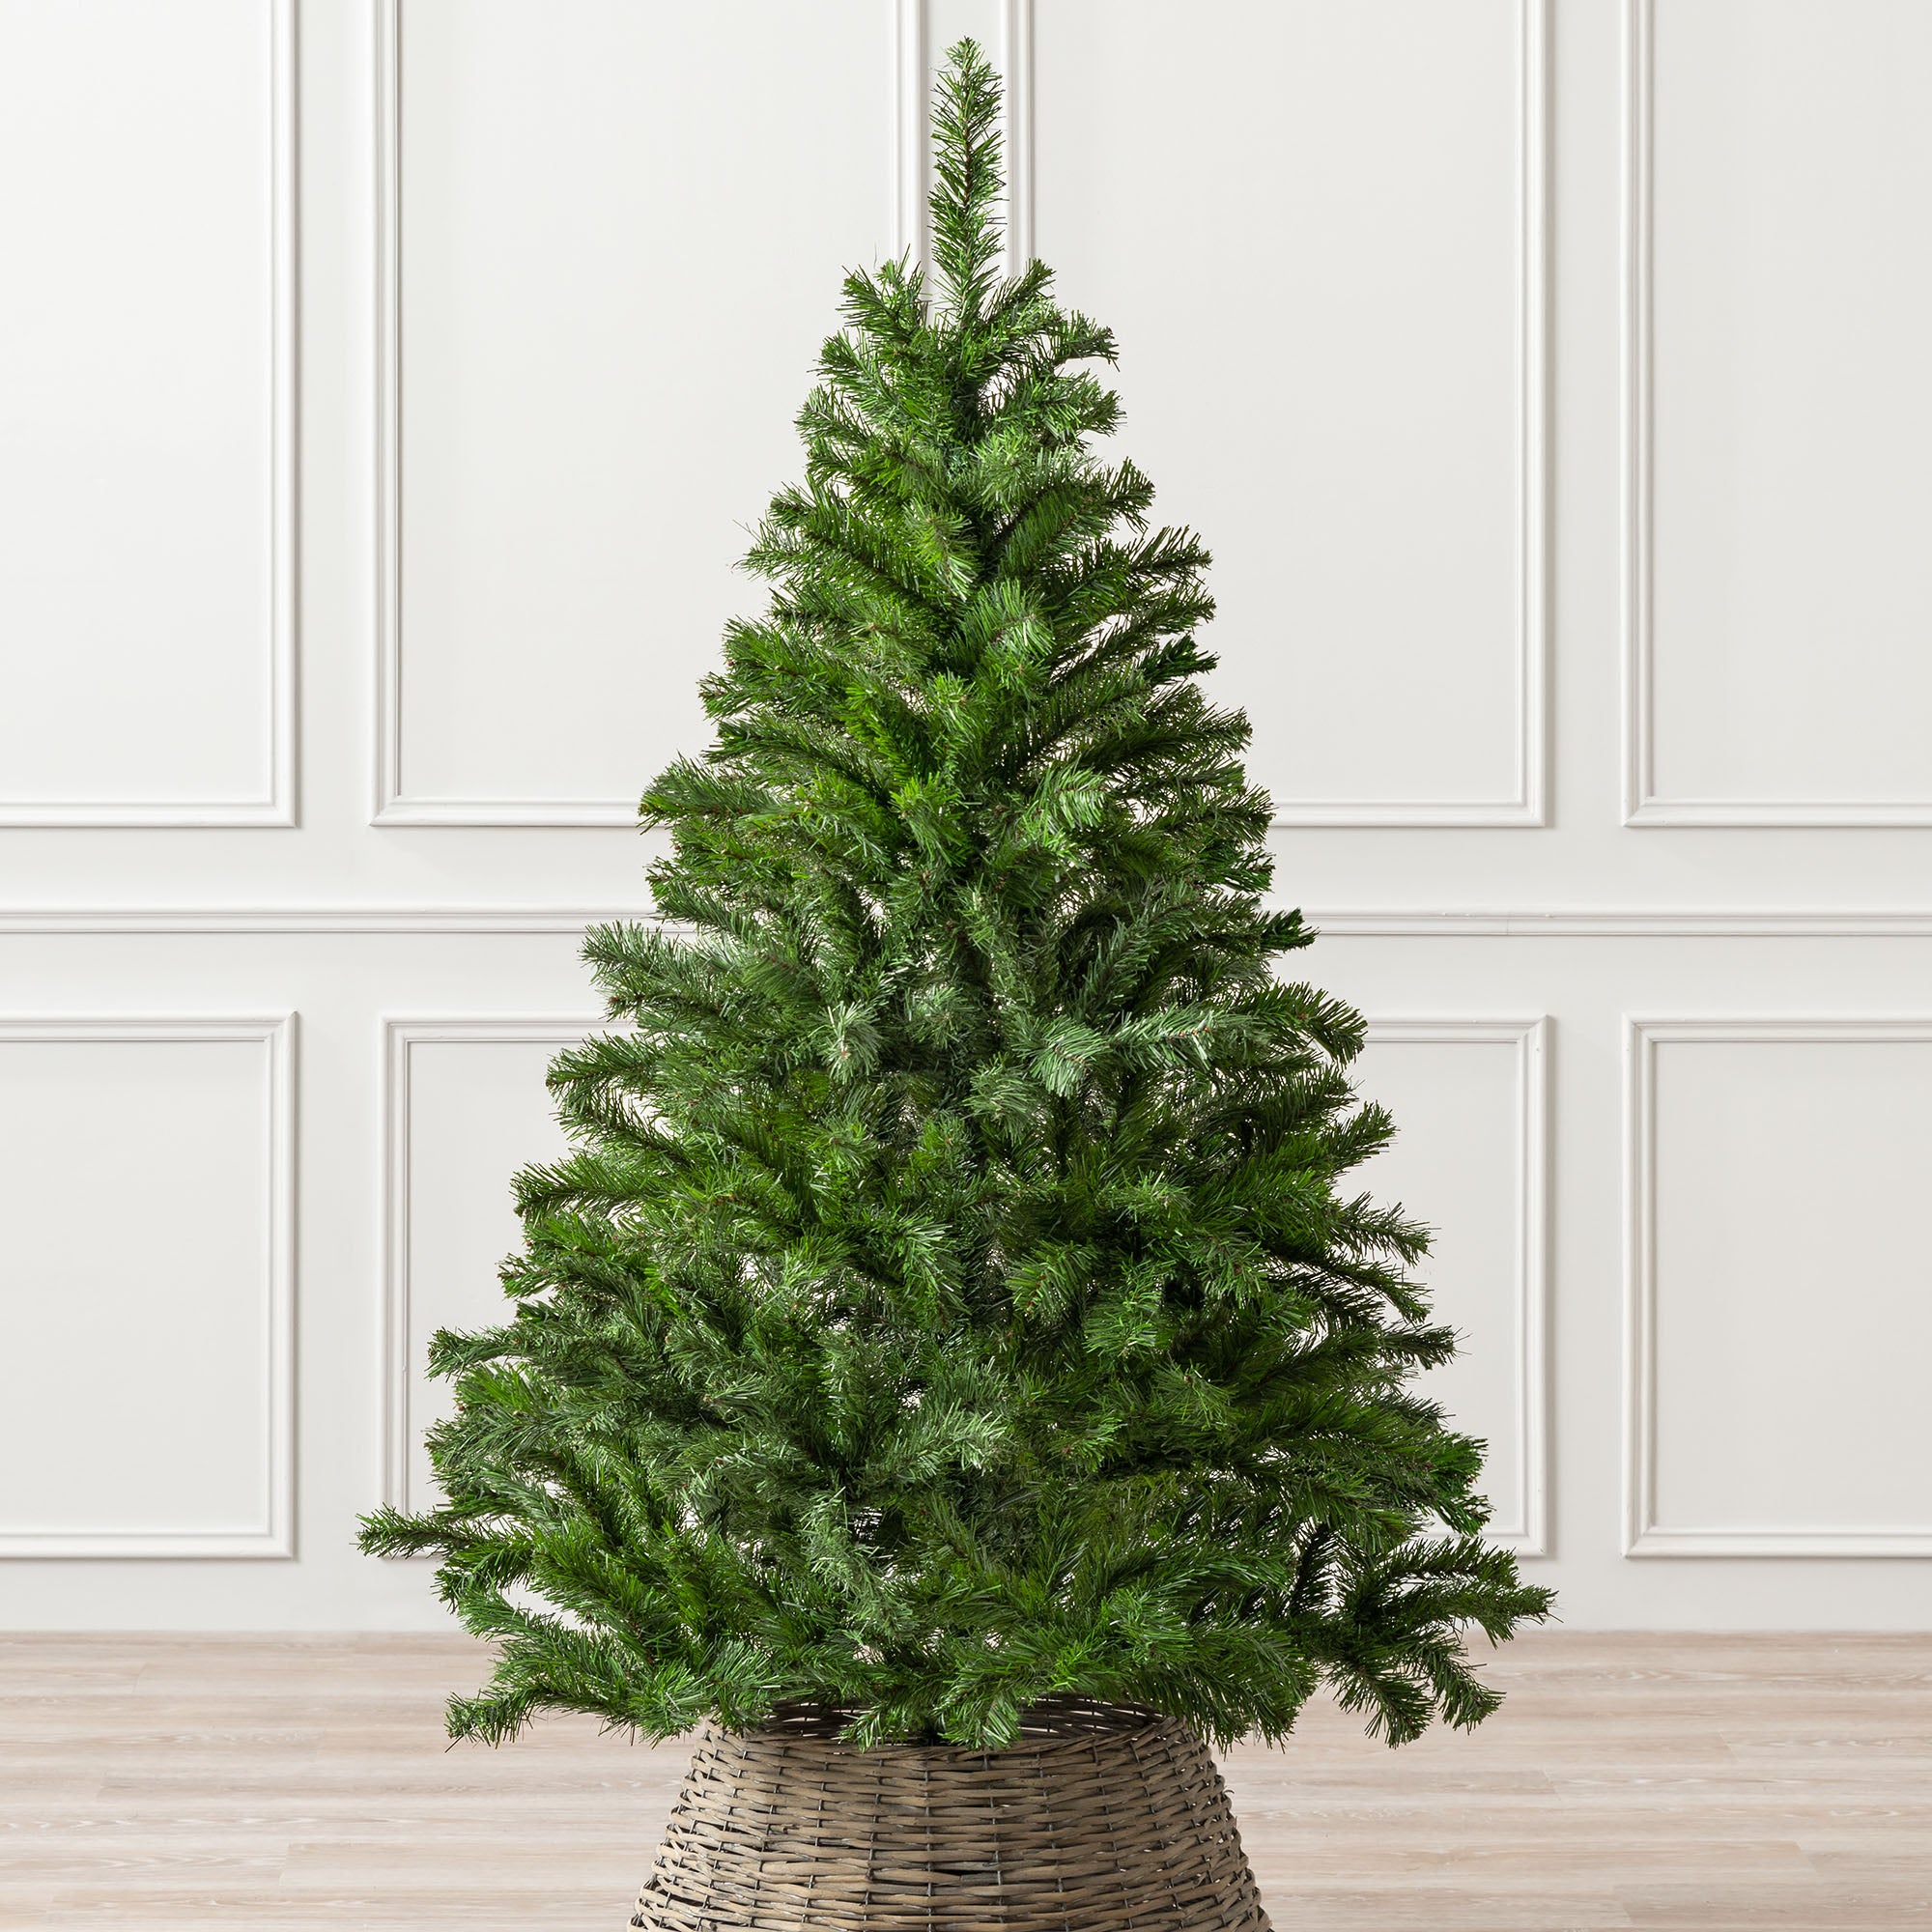
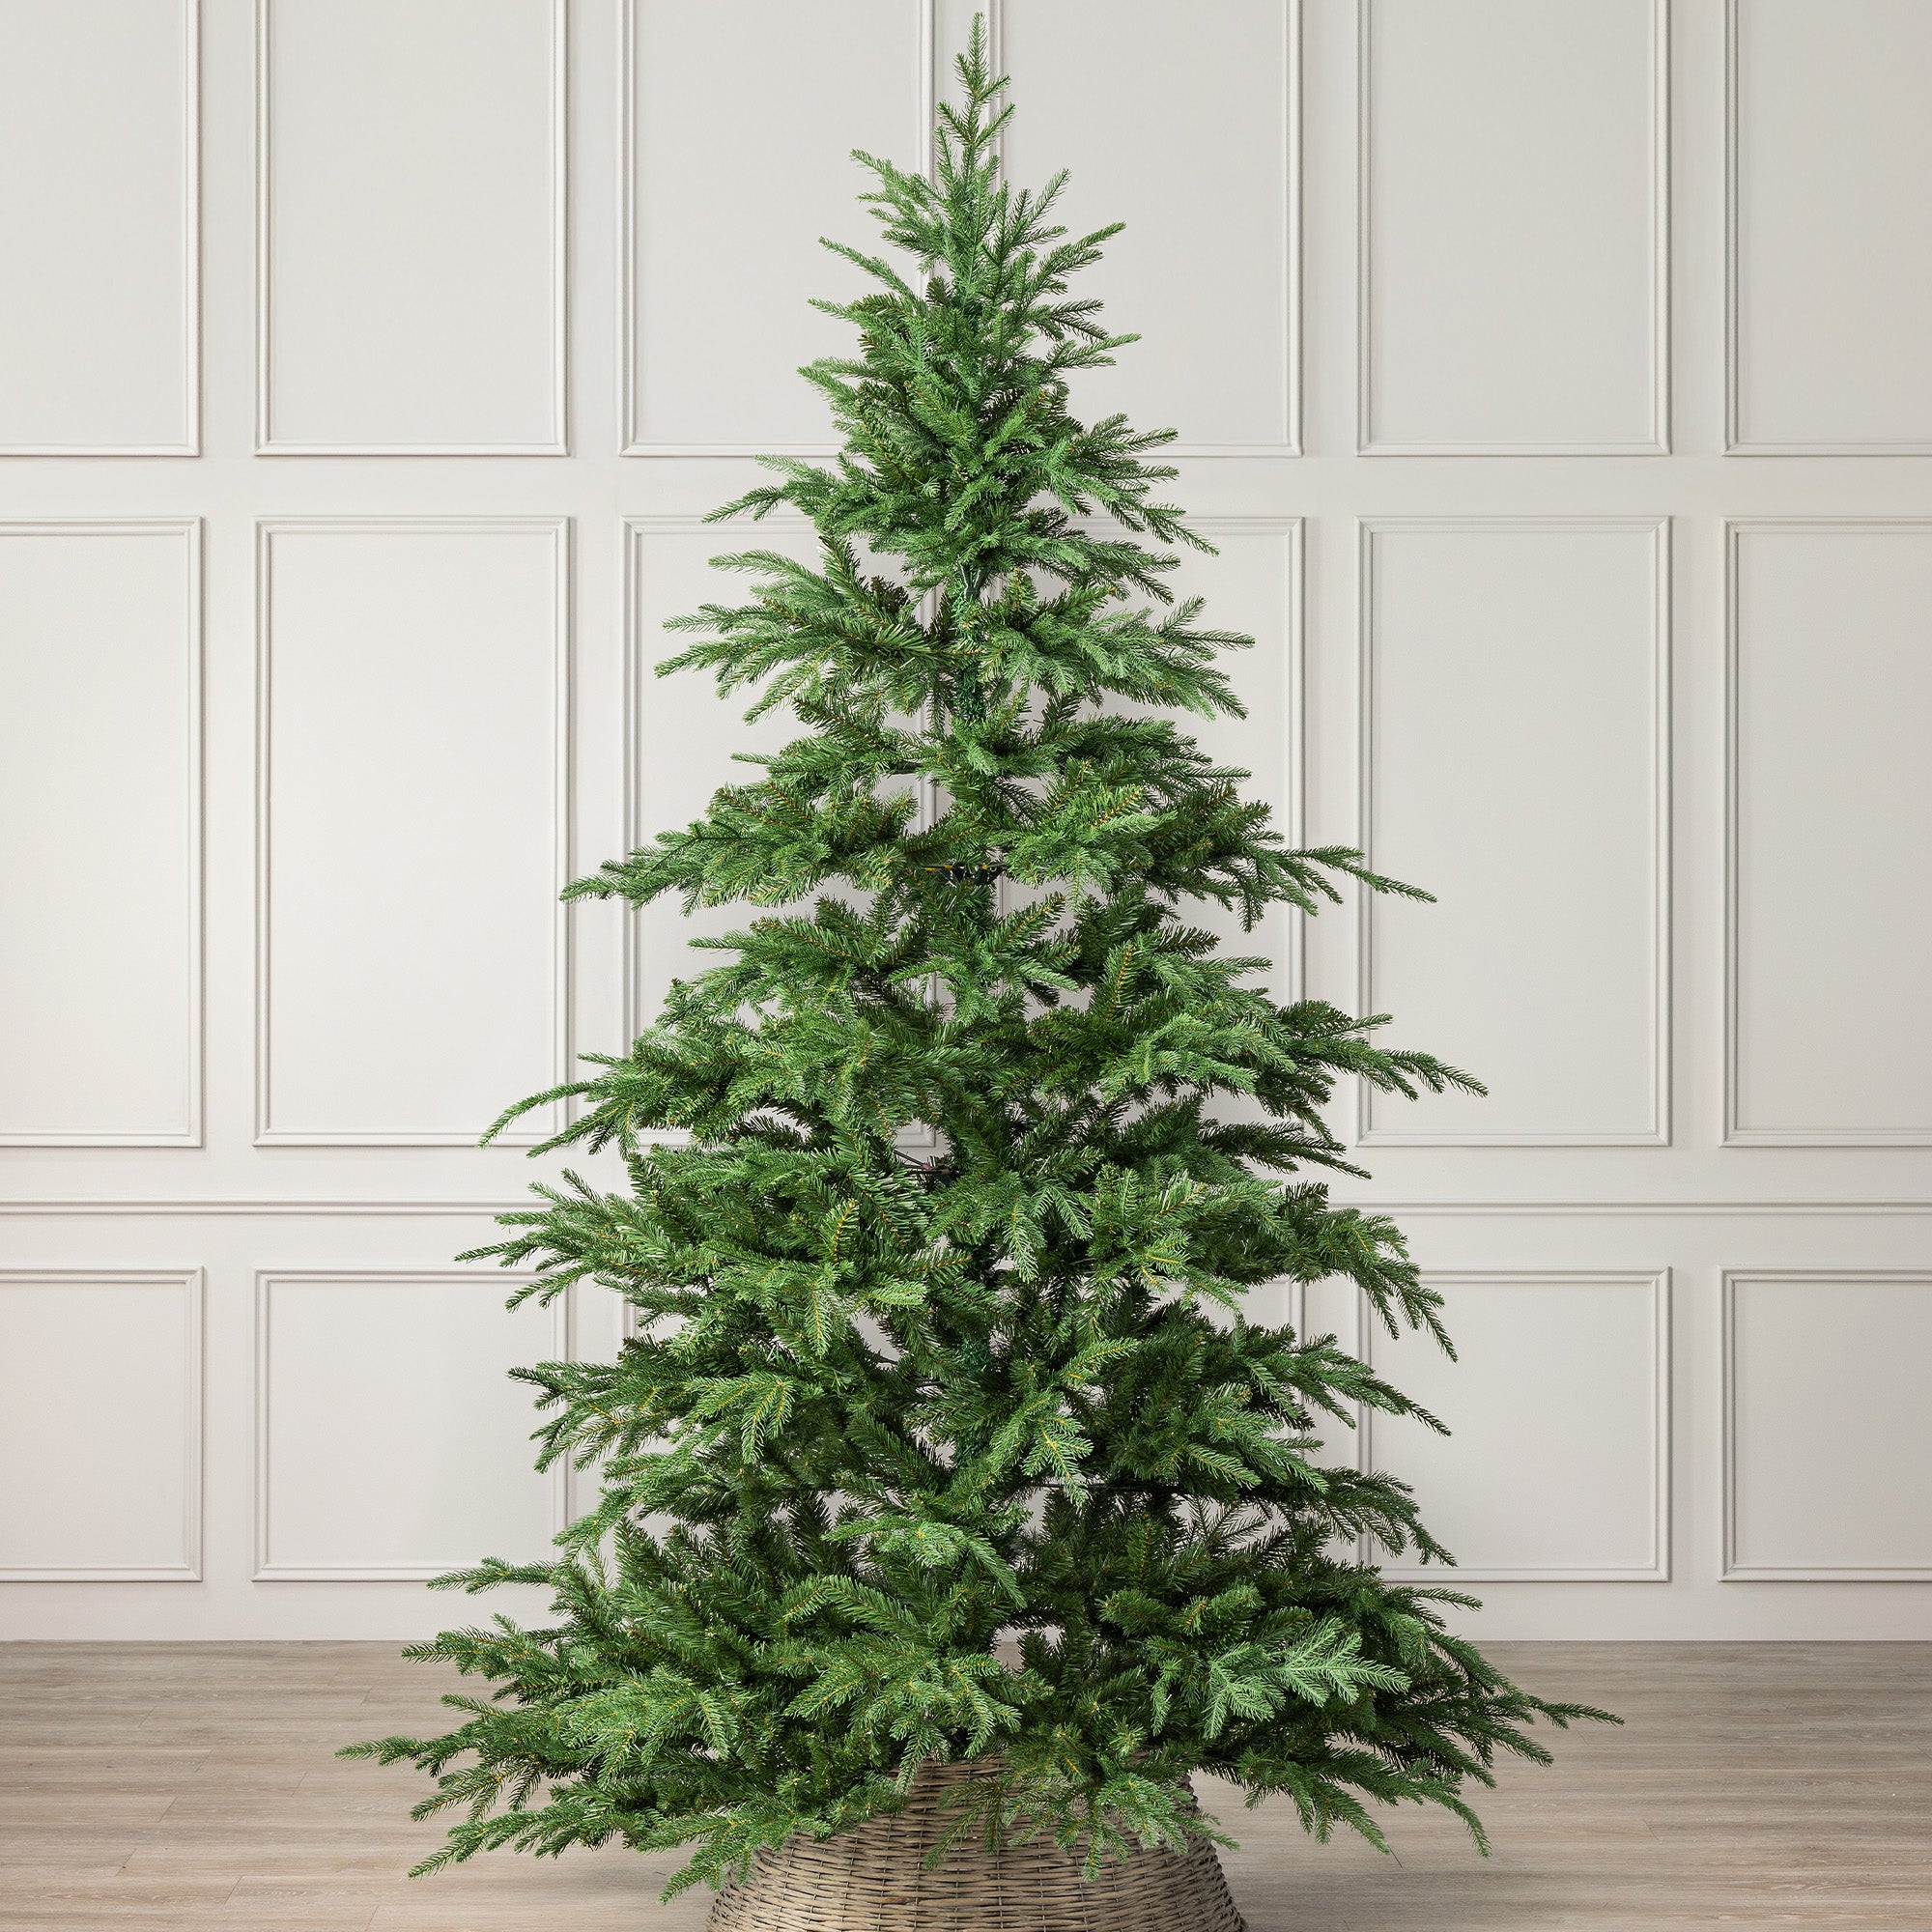
When shaping the branches, a golden rule of thumb is to start at the bottom and work your way up. If the branches are pre-attached, focus on one at a time: bend it outwards and fluff it by spreading its offshoots evenly.
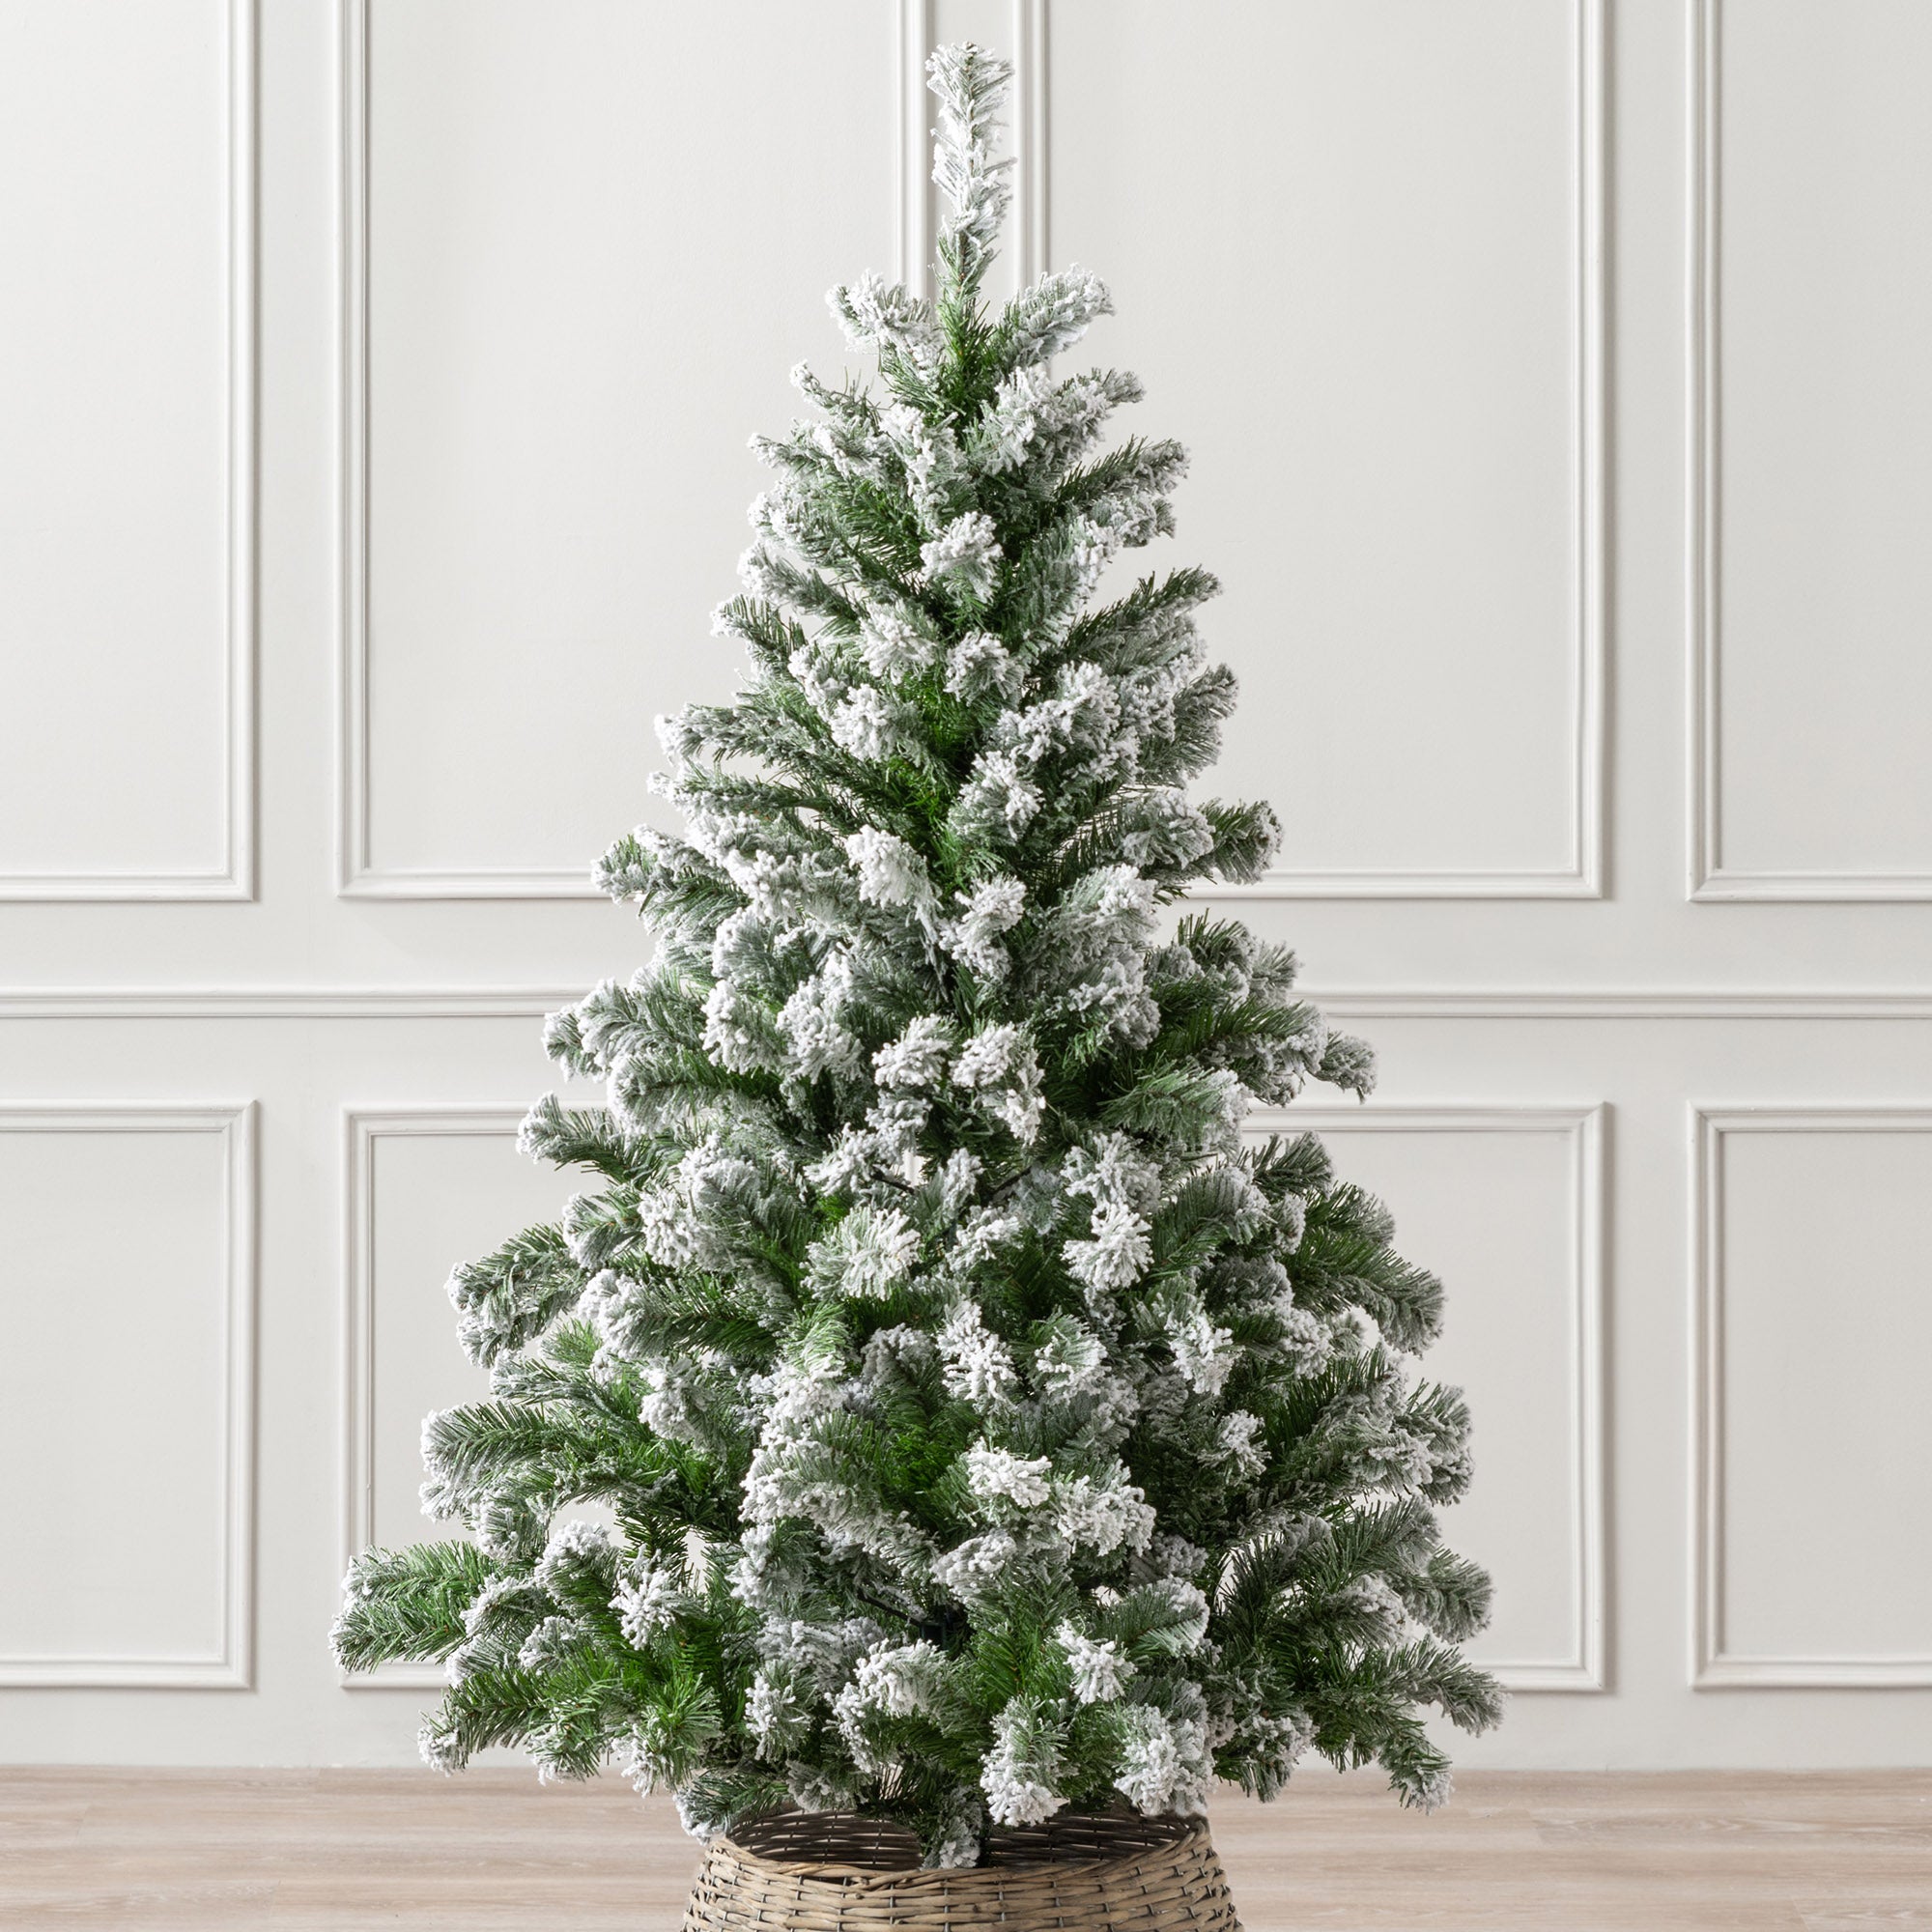
Although there’s no wrong way, we like to give branches a slight upward bend, then pull down at the tips. This creates a bushy, natural look. For slim pencil trees, simply pull the branches outwards for a fluffy shape.

If your tree has hook-on branches, fluff each one before attaching it. They are usually colour-coded — just match the branch colour to the stem marking for a perfectly shaped tree.
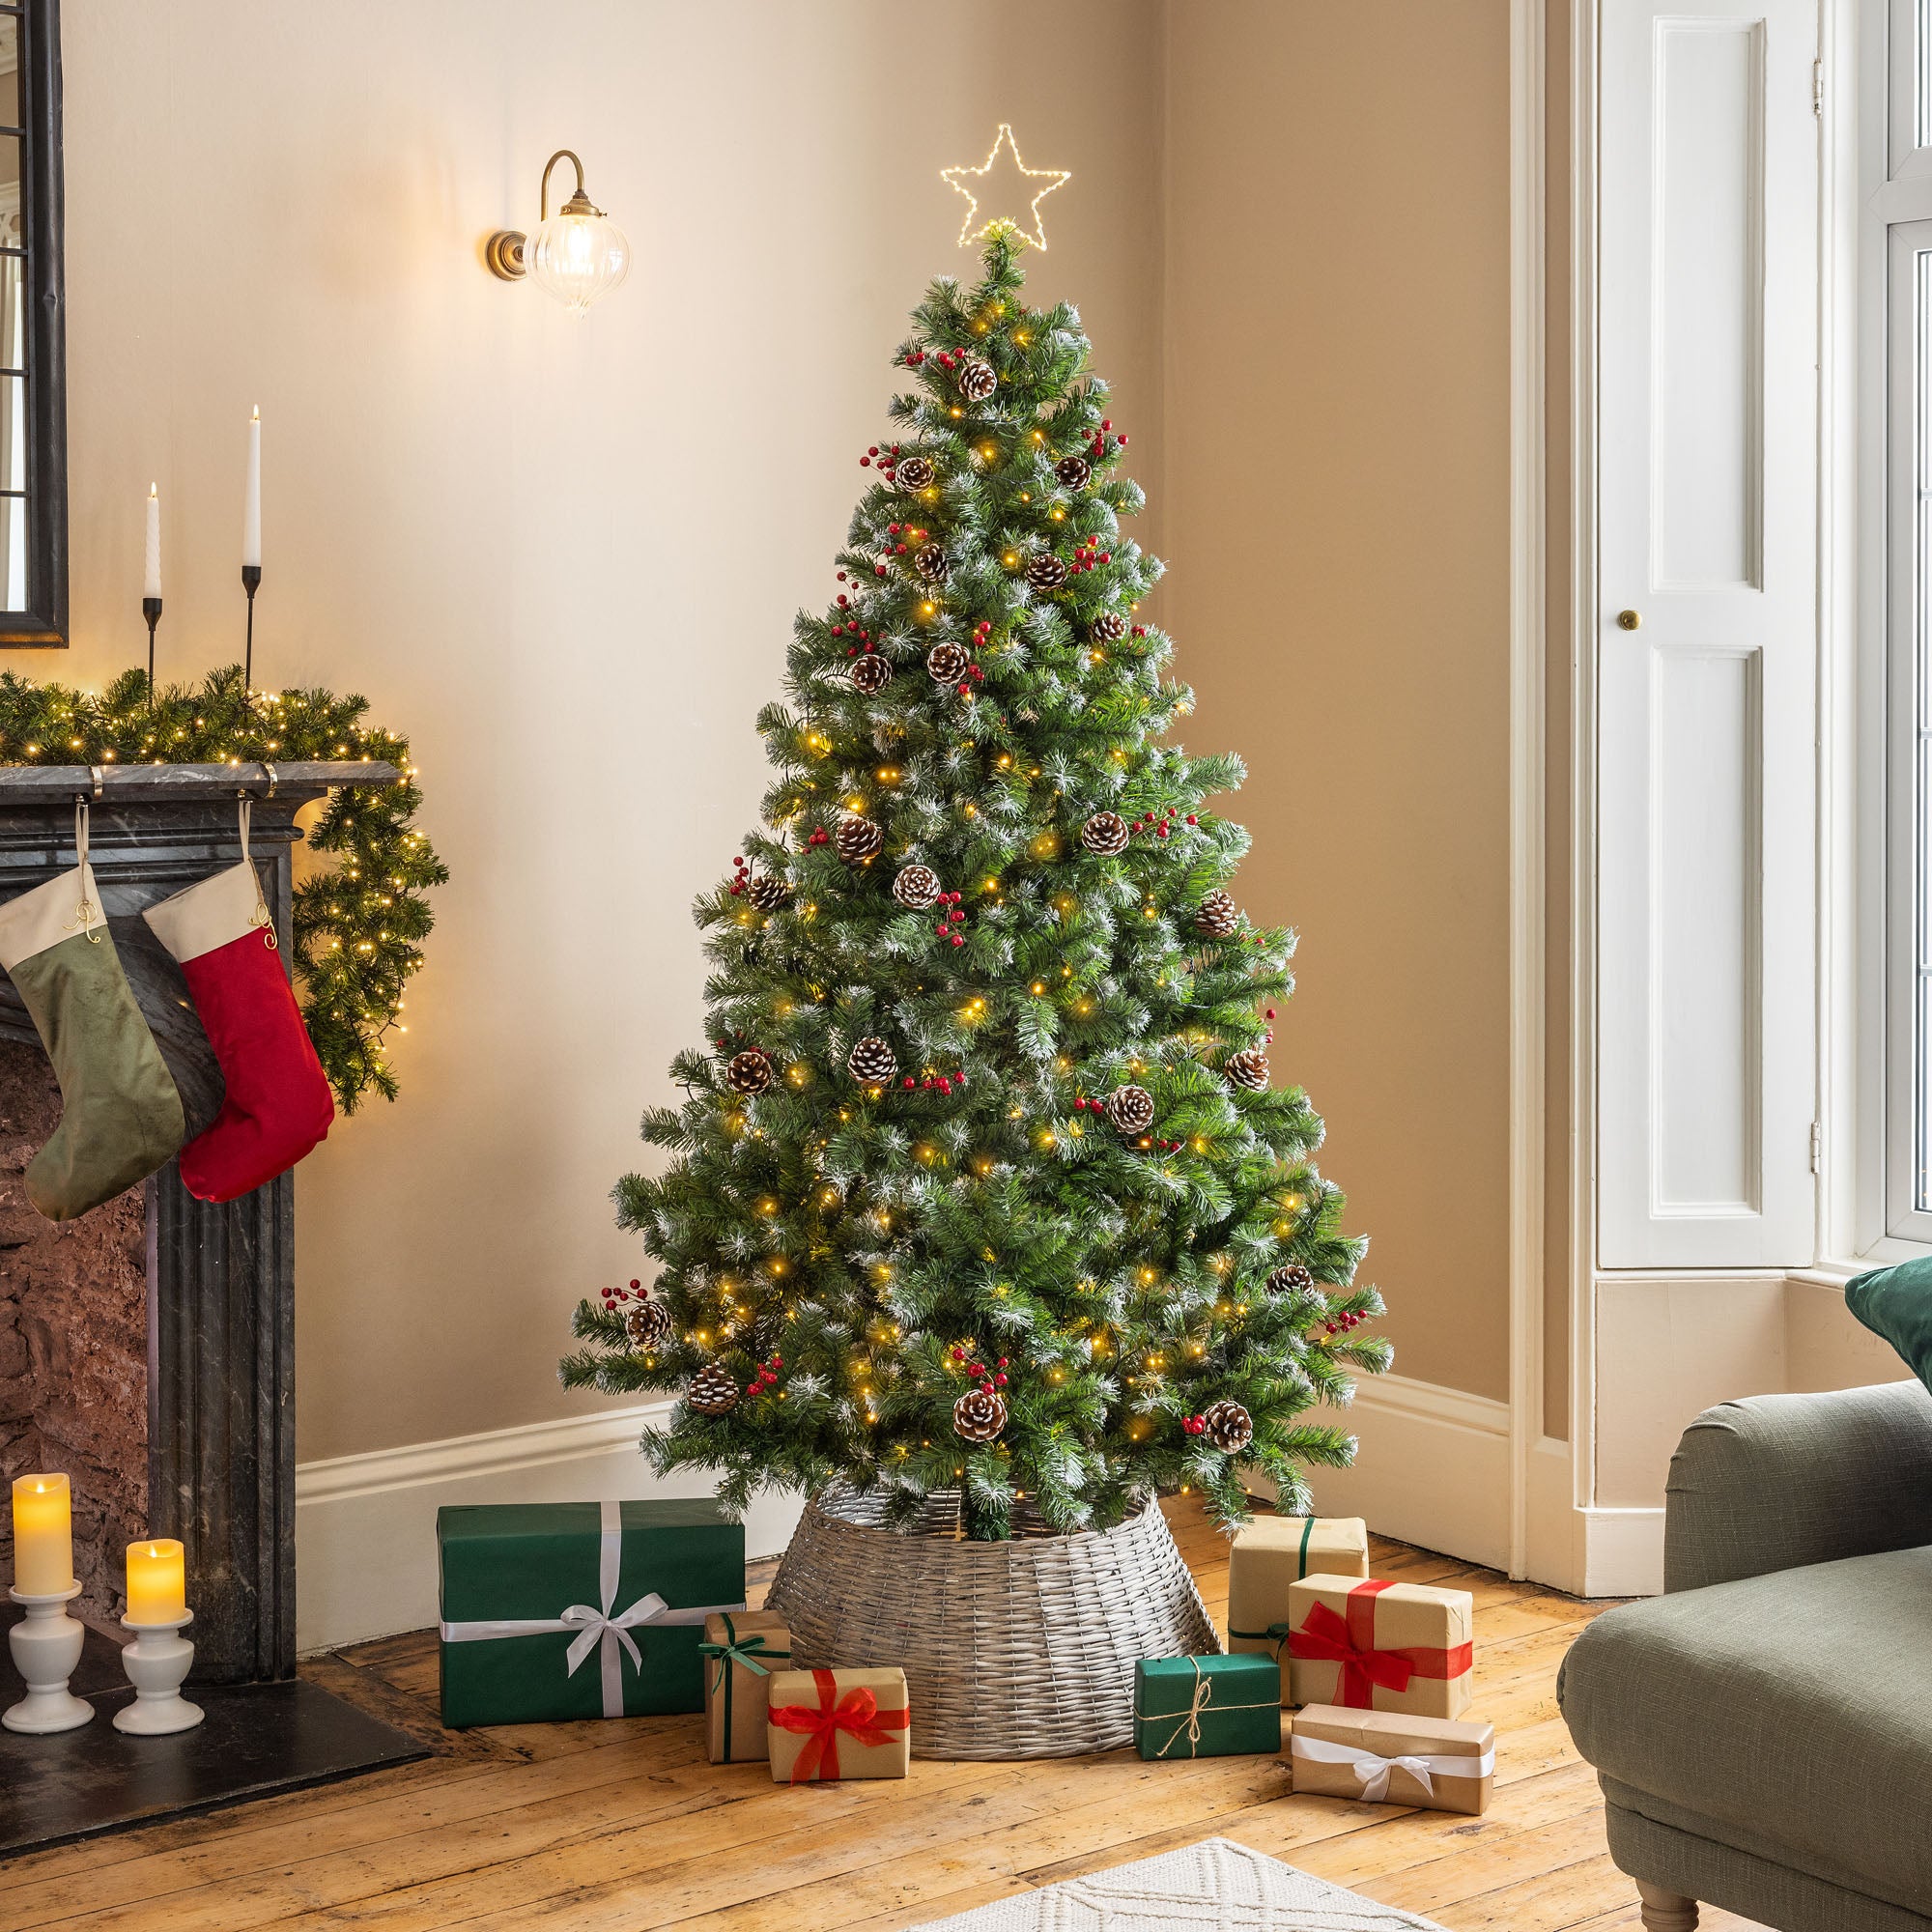
Pre-lit tees come with the lights wrapped around hinged branches, but they are assembled the same way. Simply connect the connectors, let the hinged branches fall into place and fluff the tips separately. Plug the lights in and select your light effect!
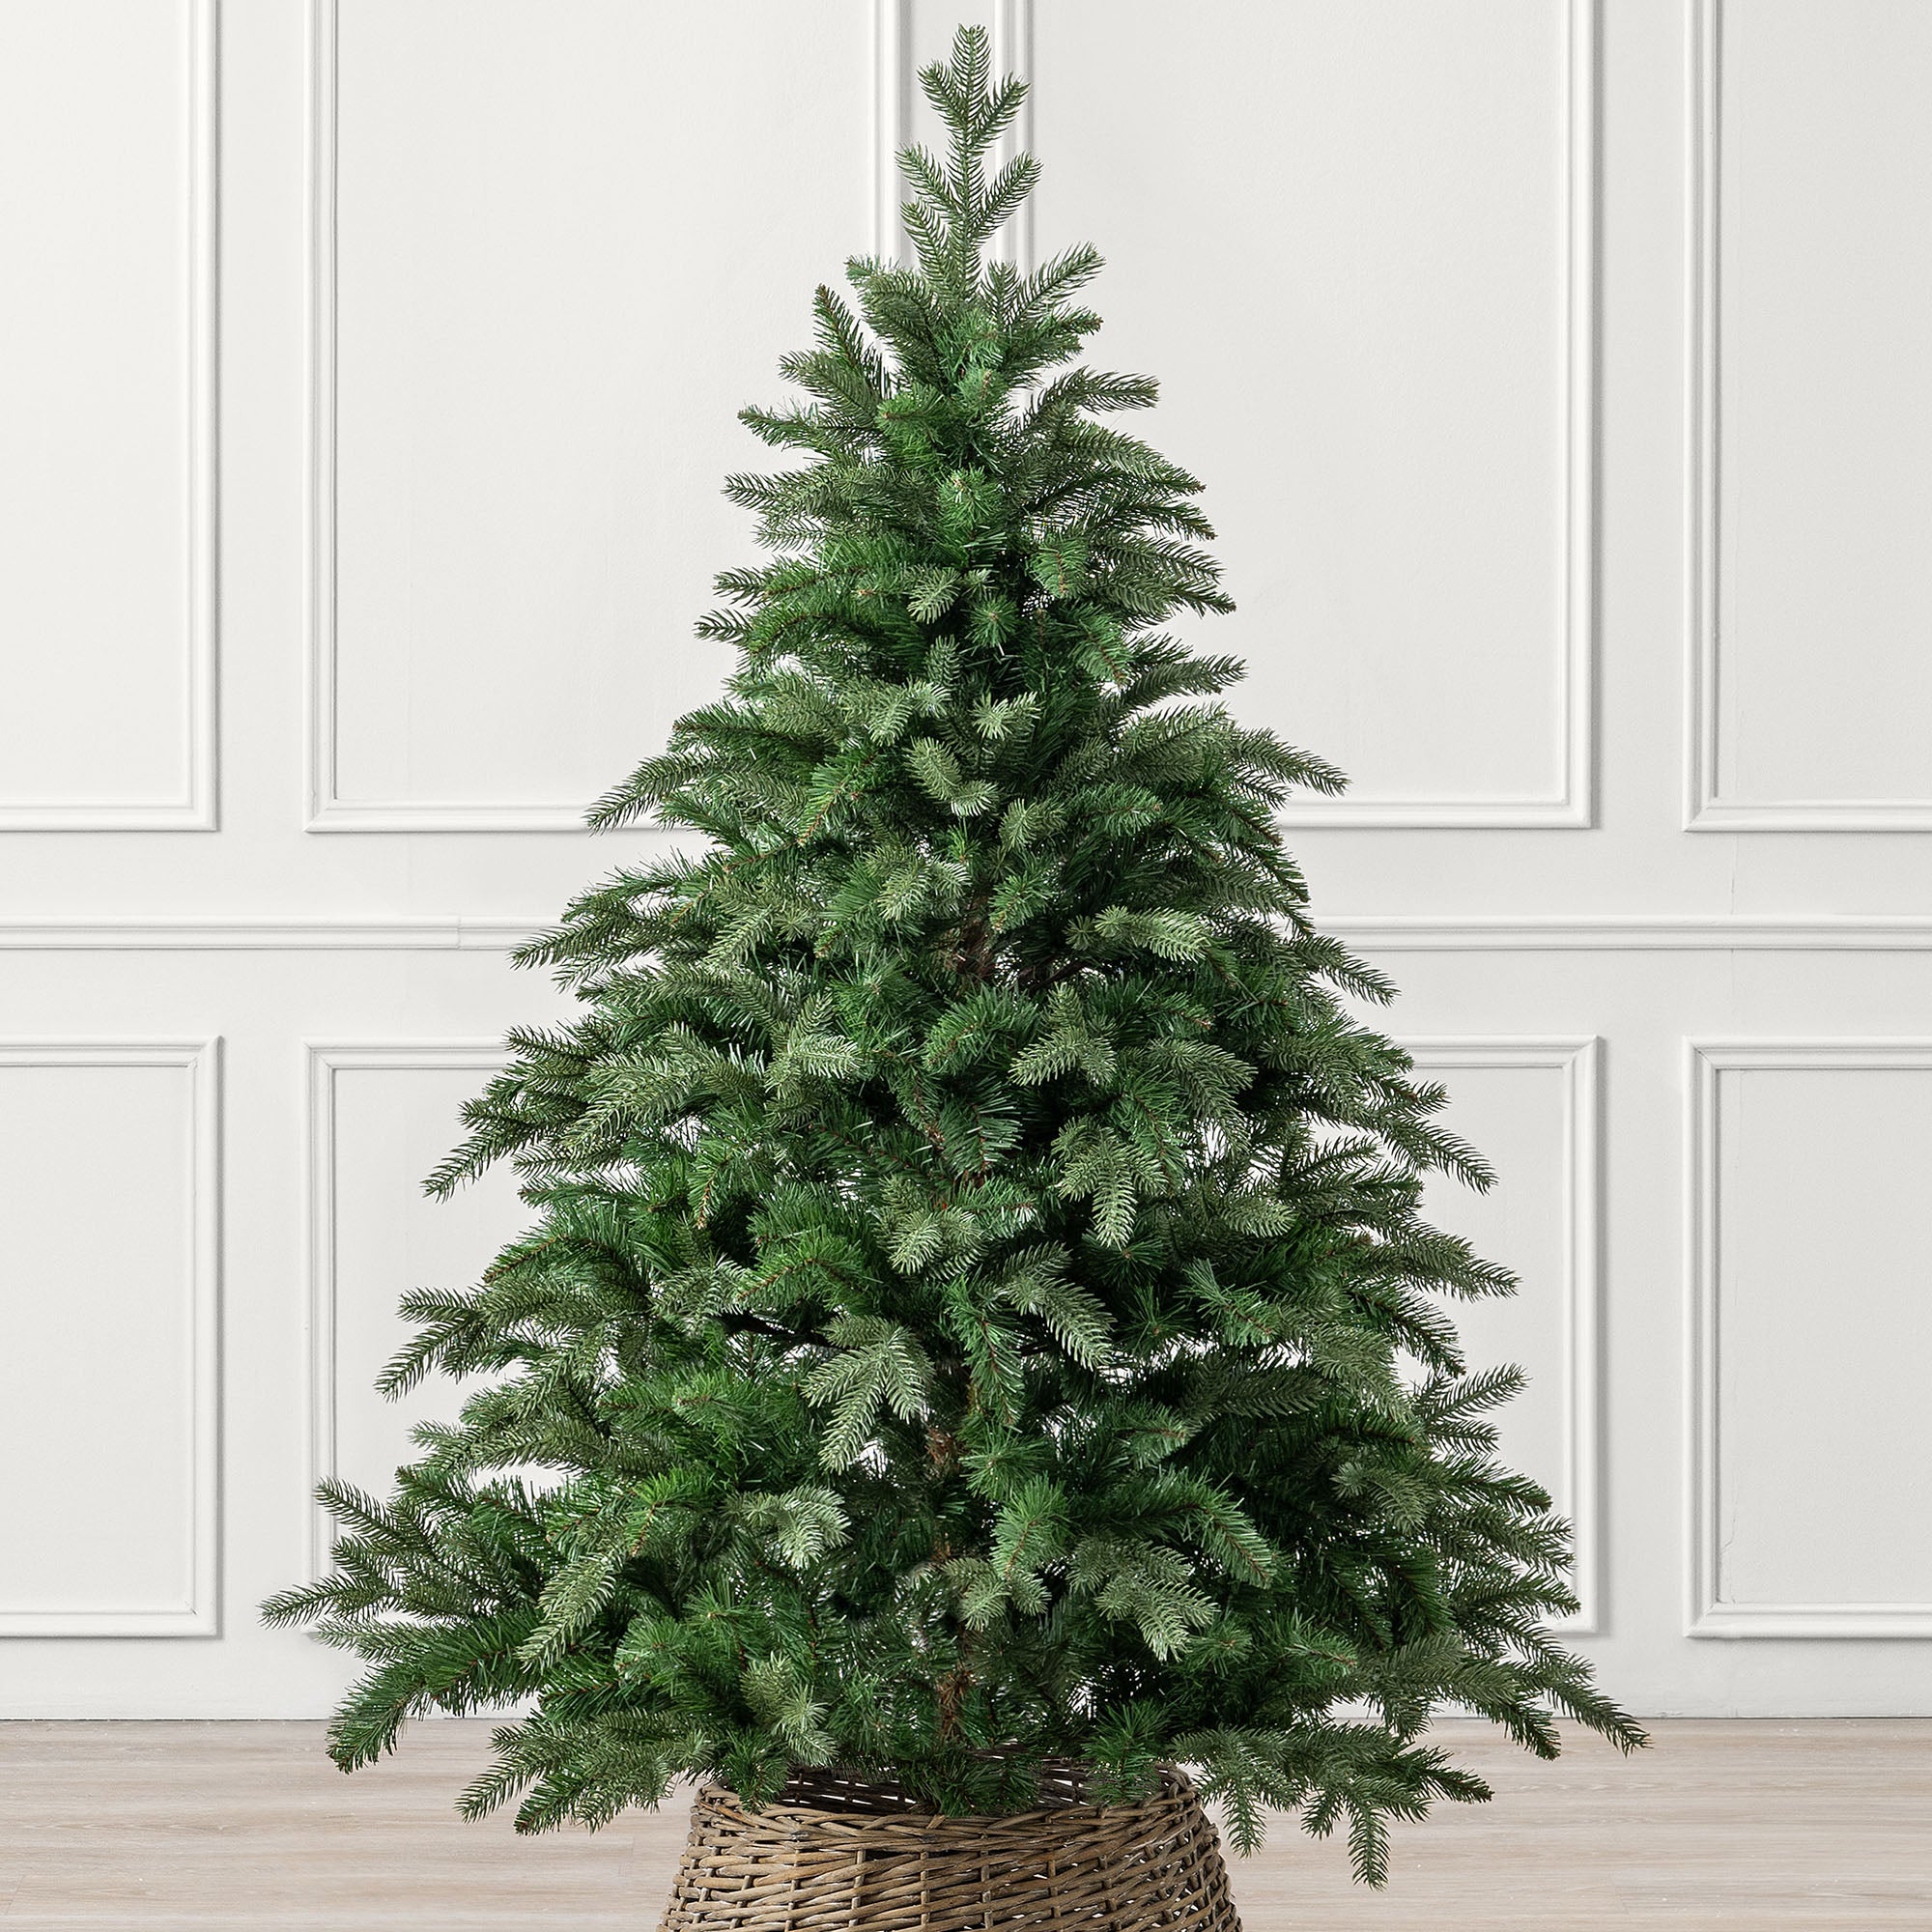
Review Your Hard Work
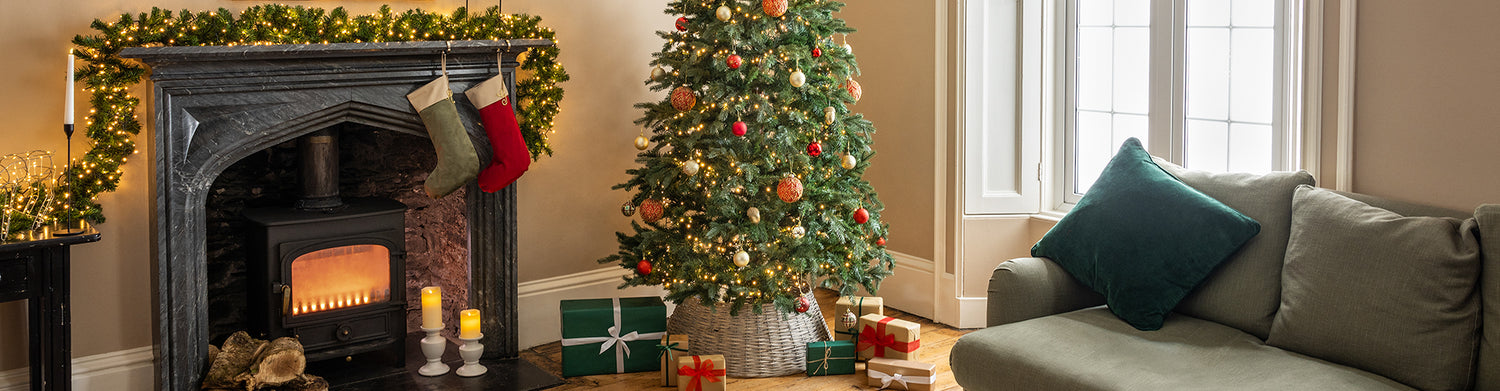
Before decorating, step back and admire your tree. This lets you spot gaps or unevenness. For a rustic look, leave it slightly imperfect; for a picture-perfect finish, adjust sections until you’re happy. Remember that it will look even better when you add all your decorations!
Decorate the Tree

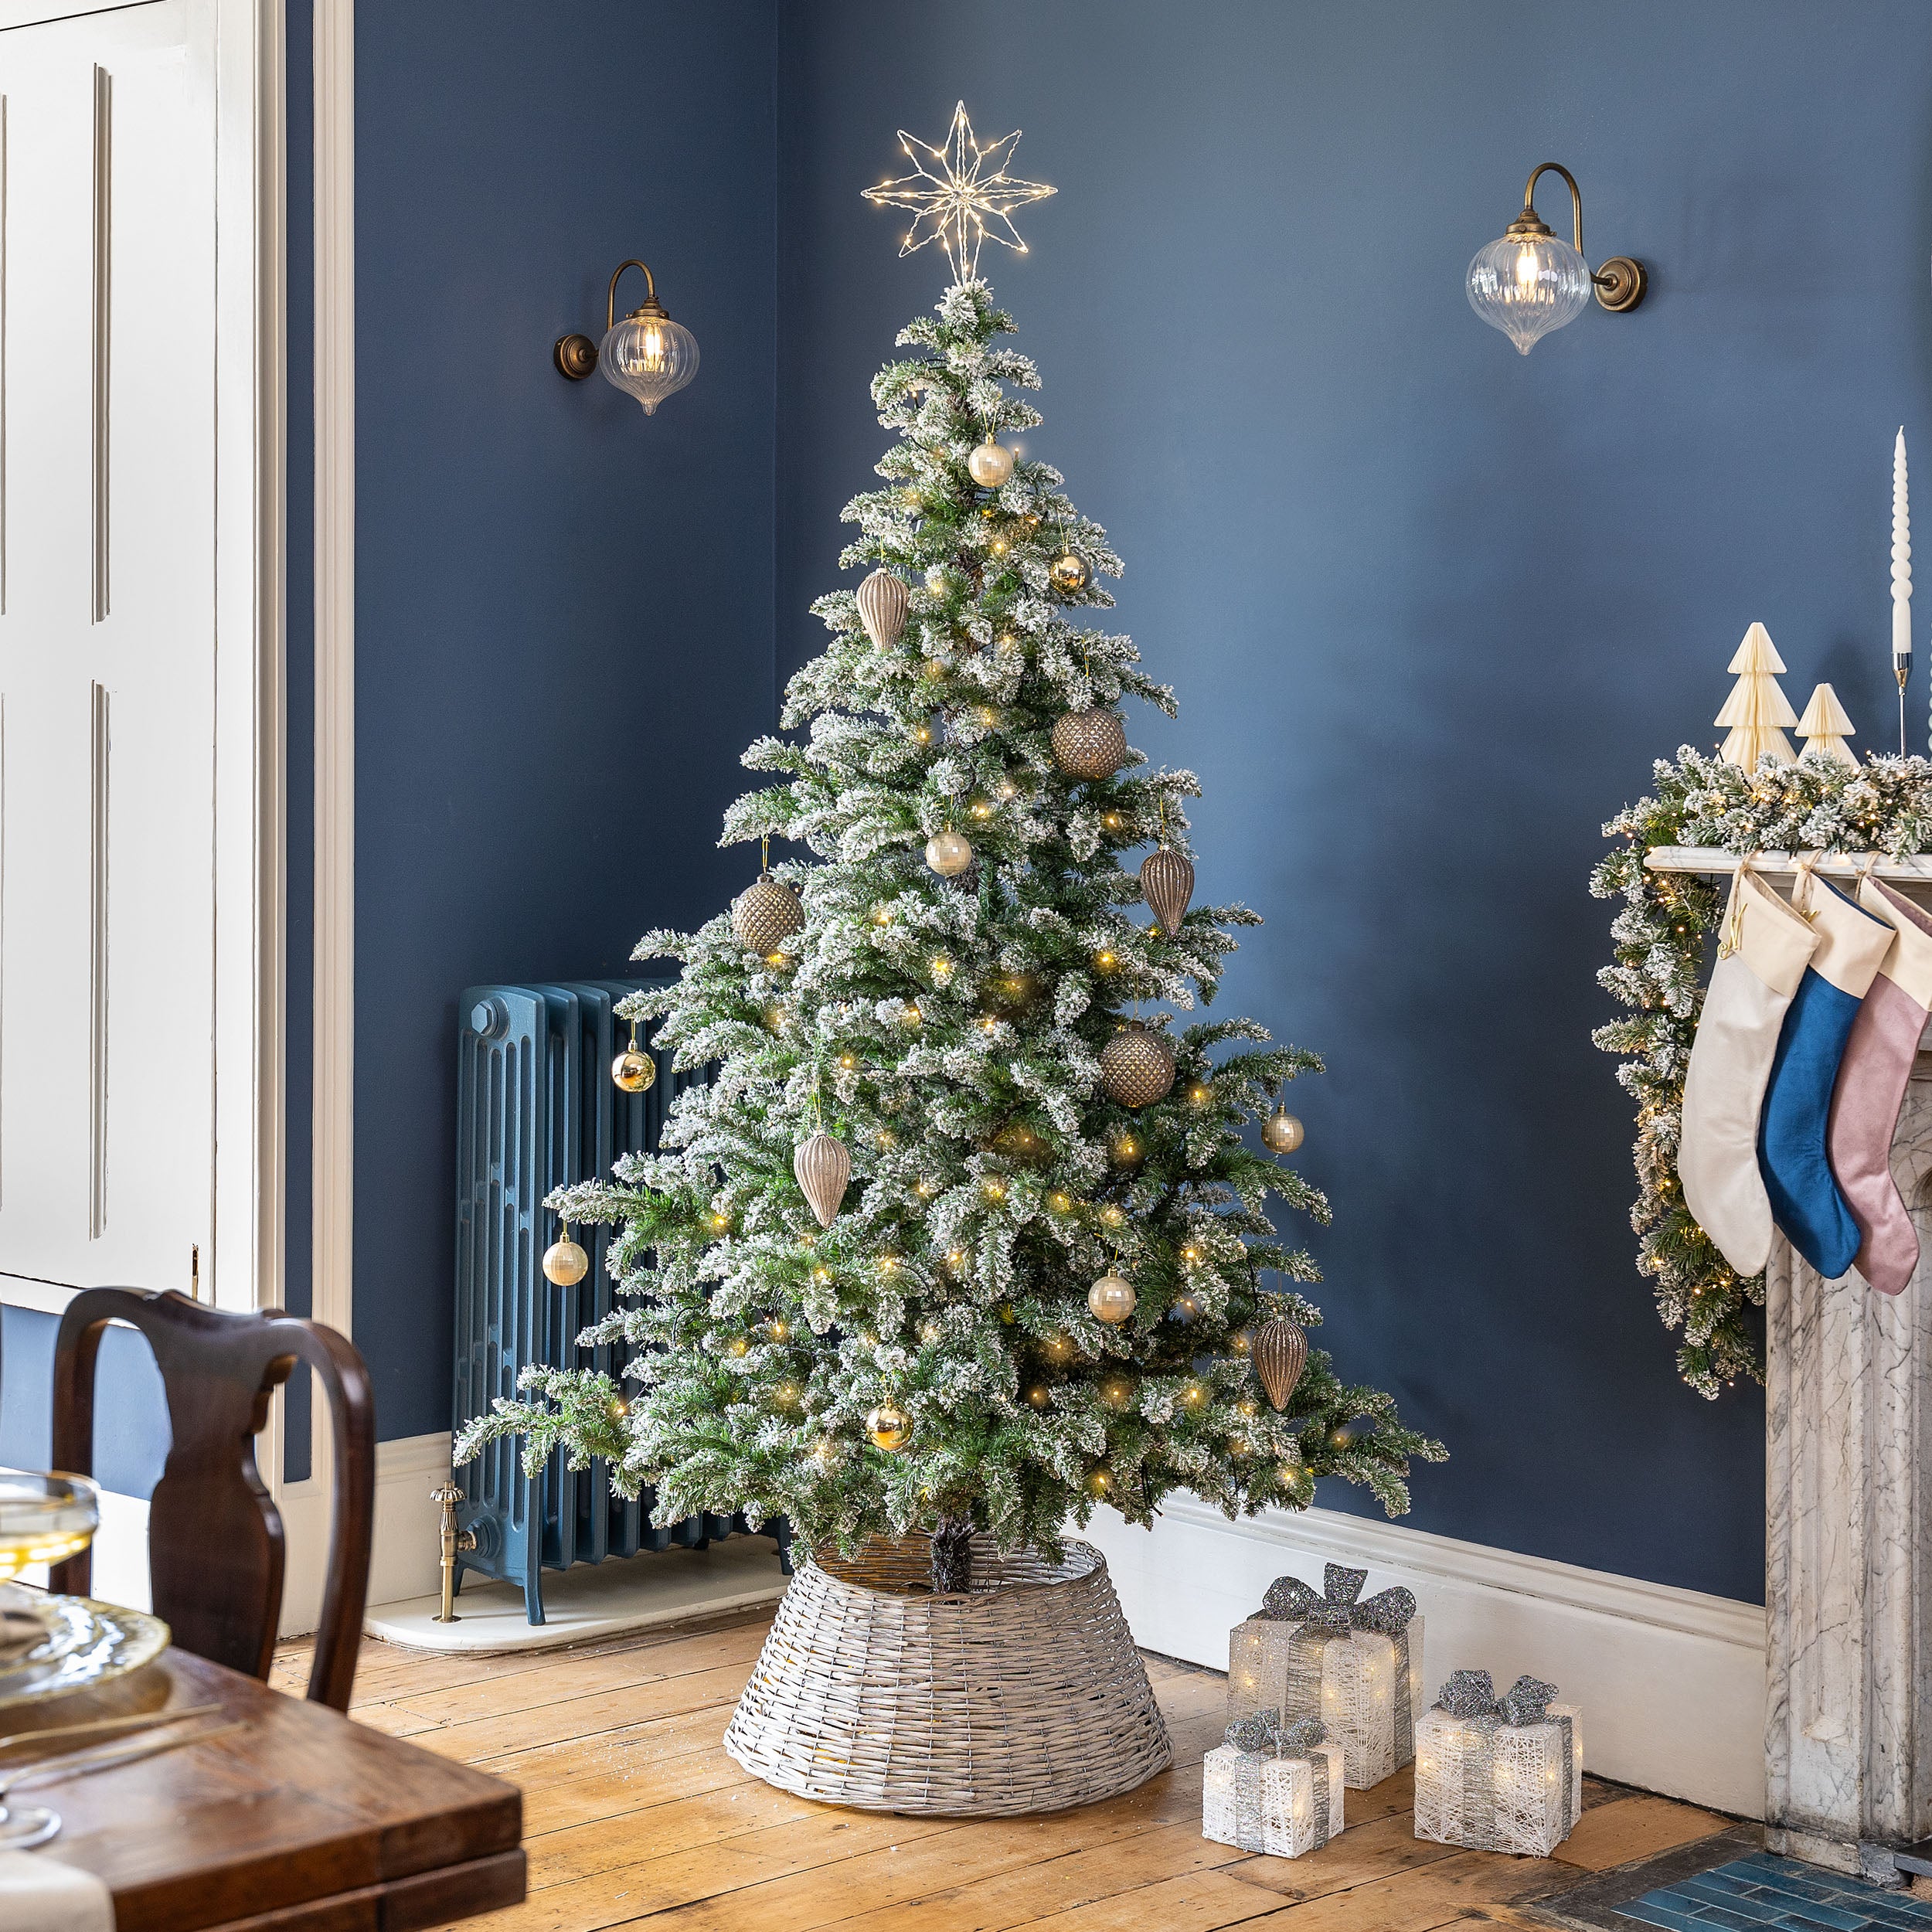
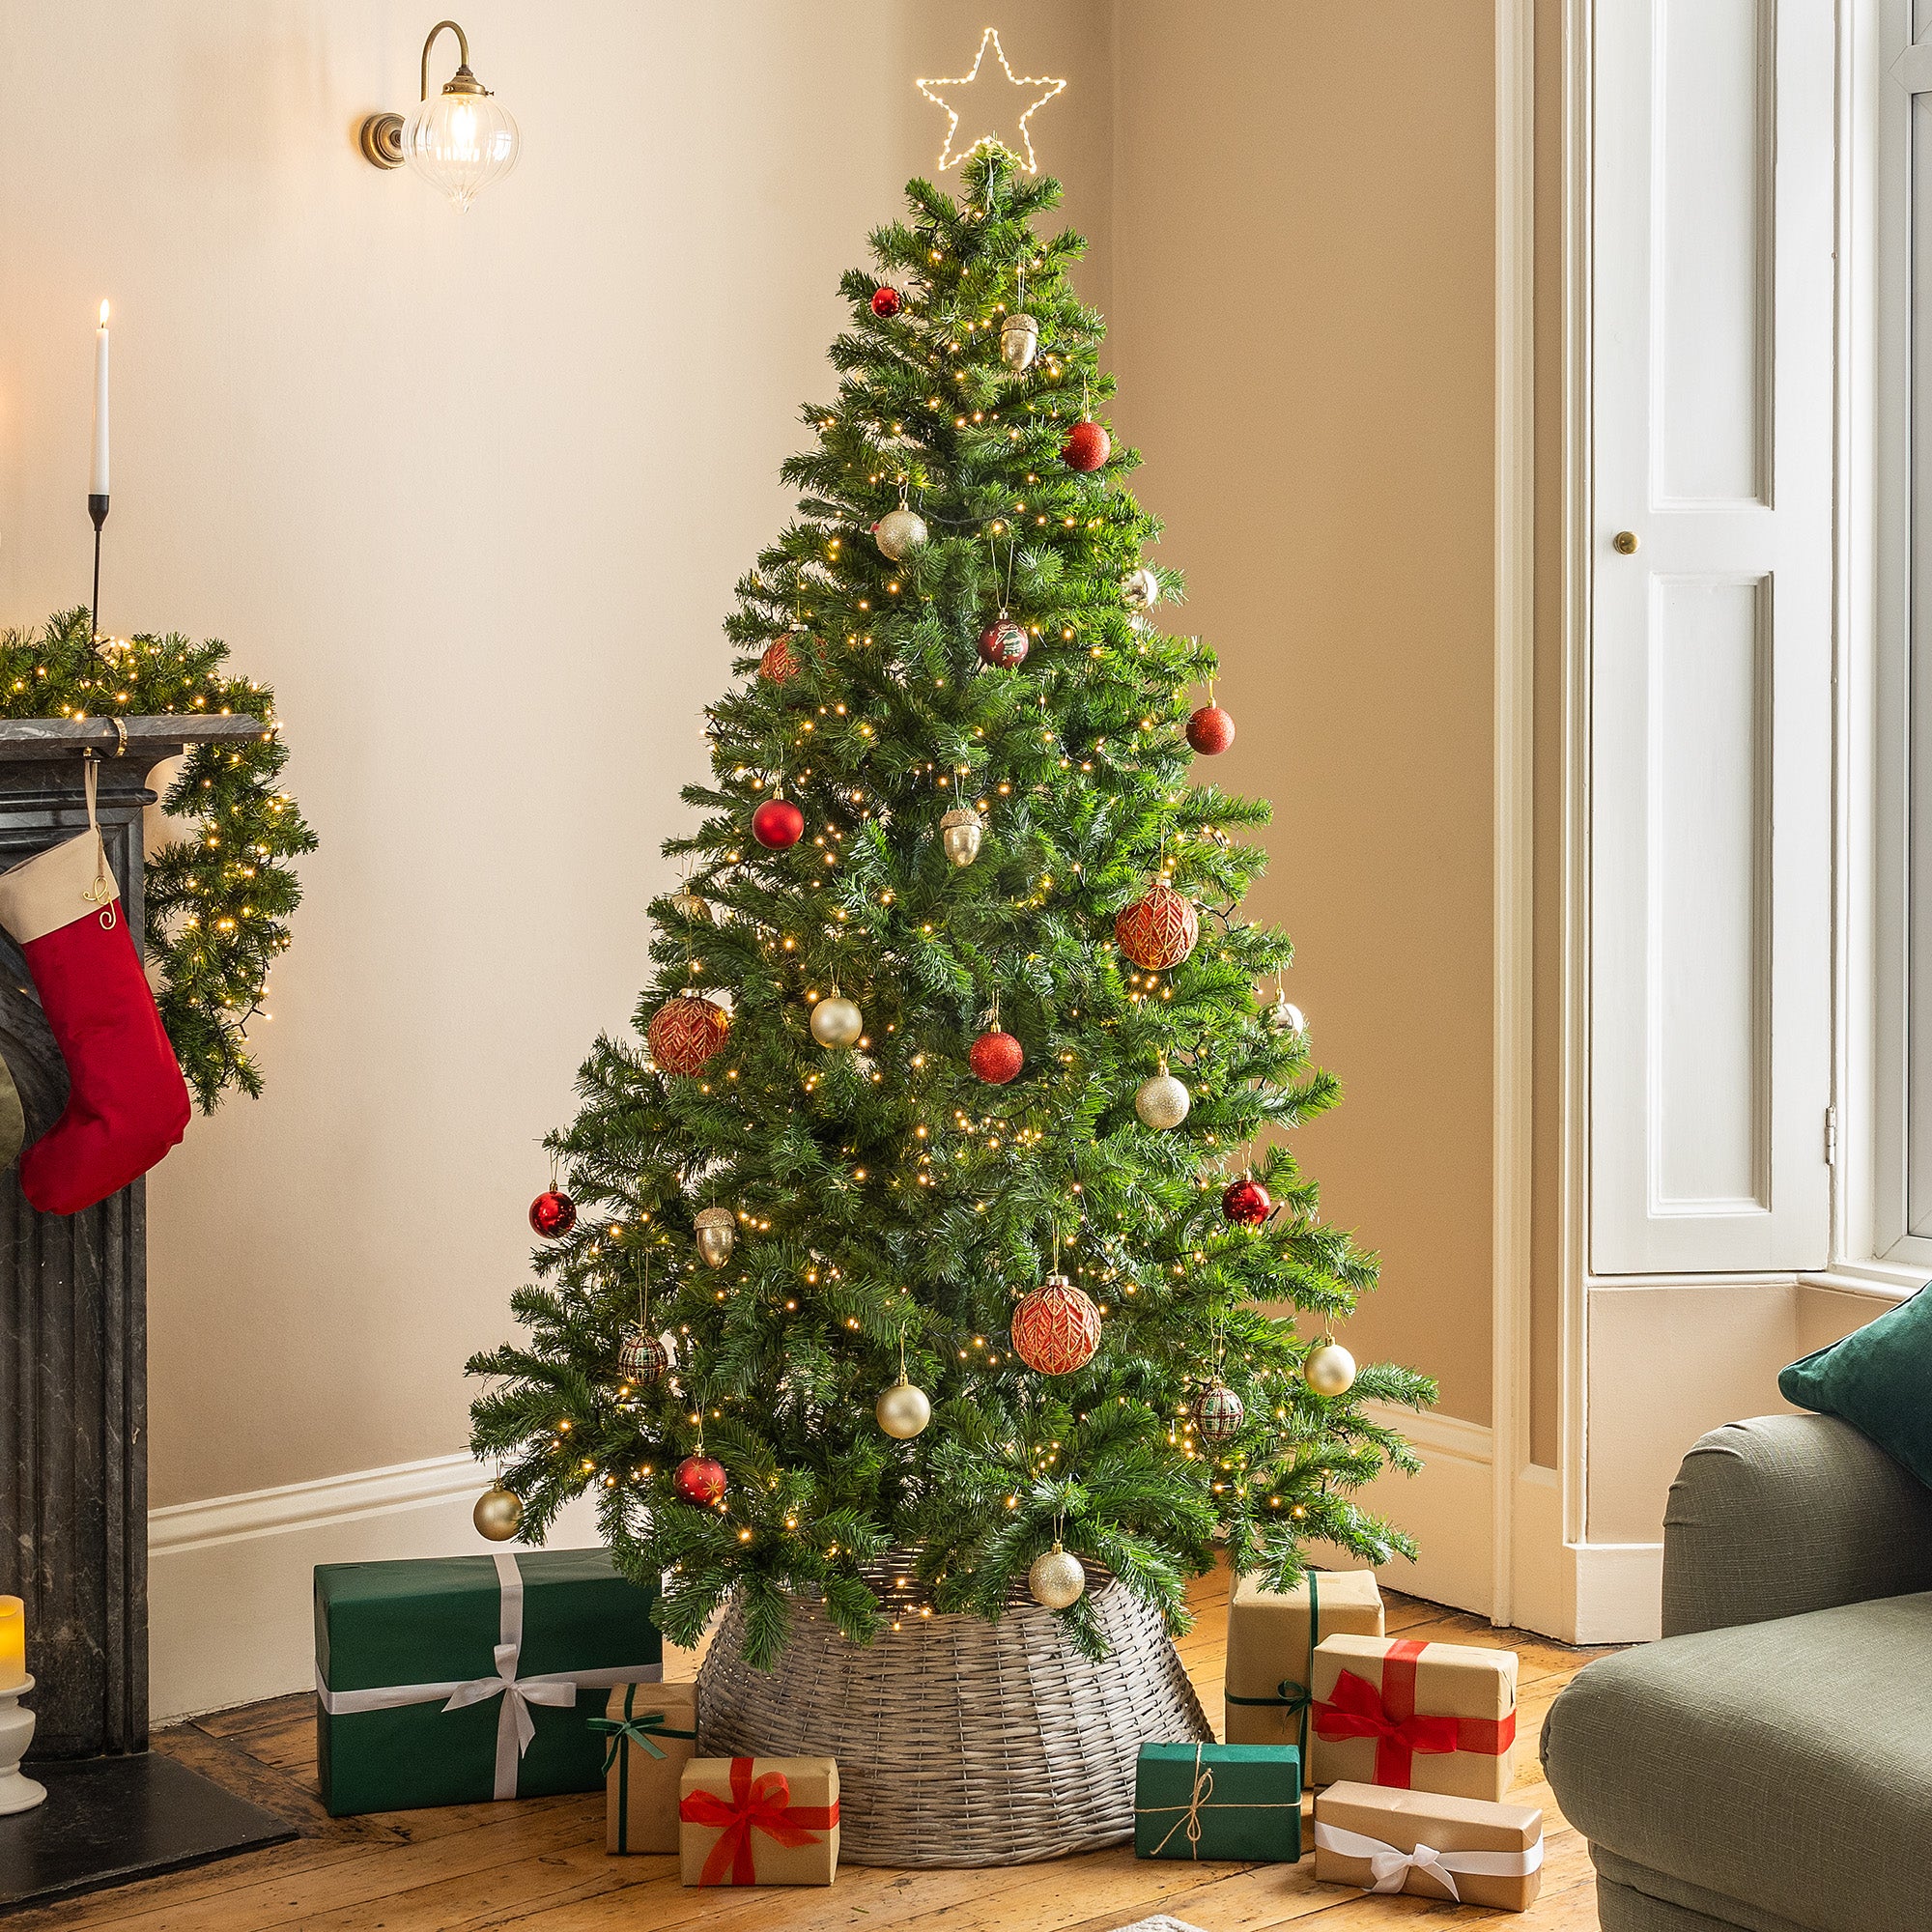
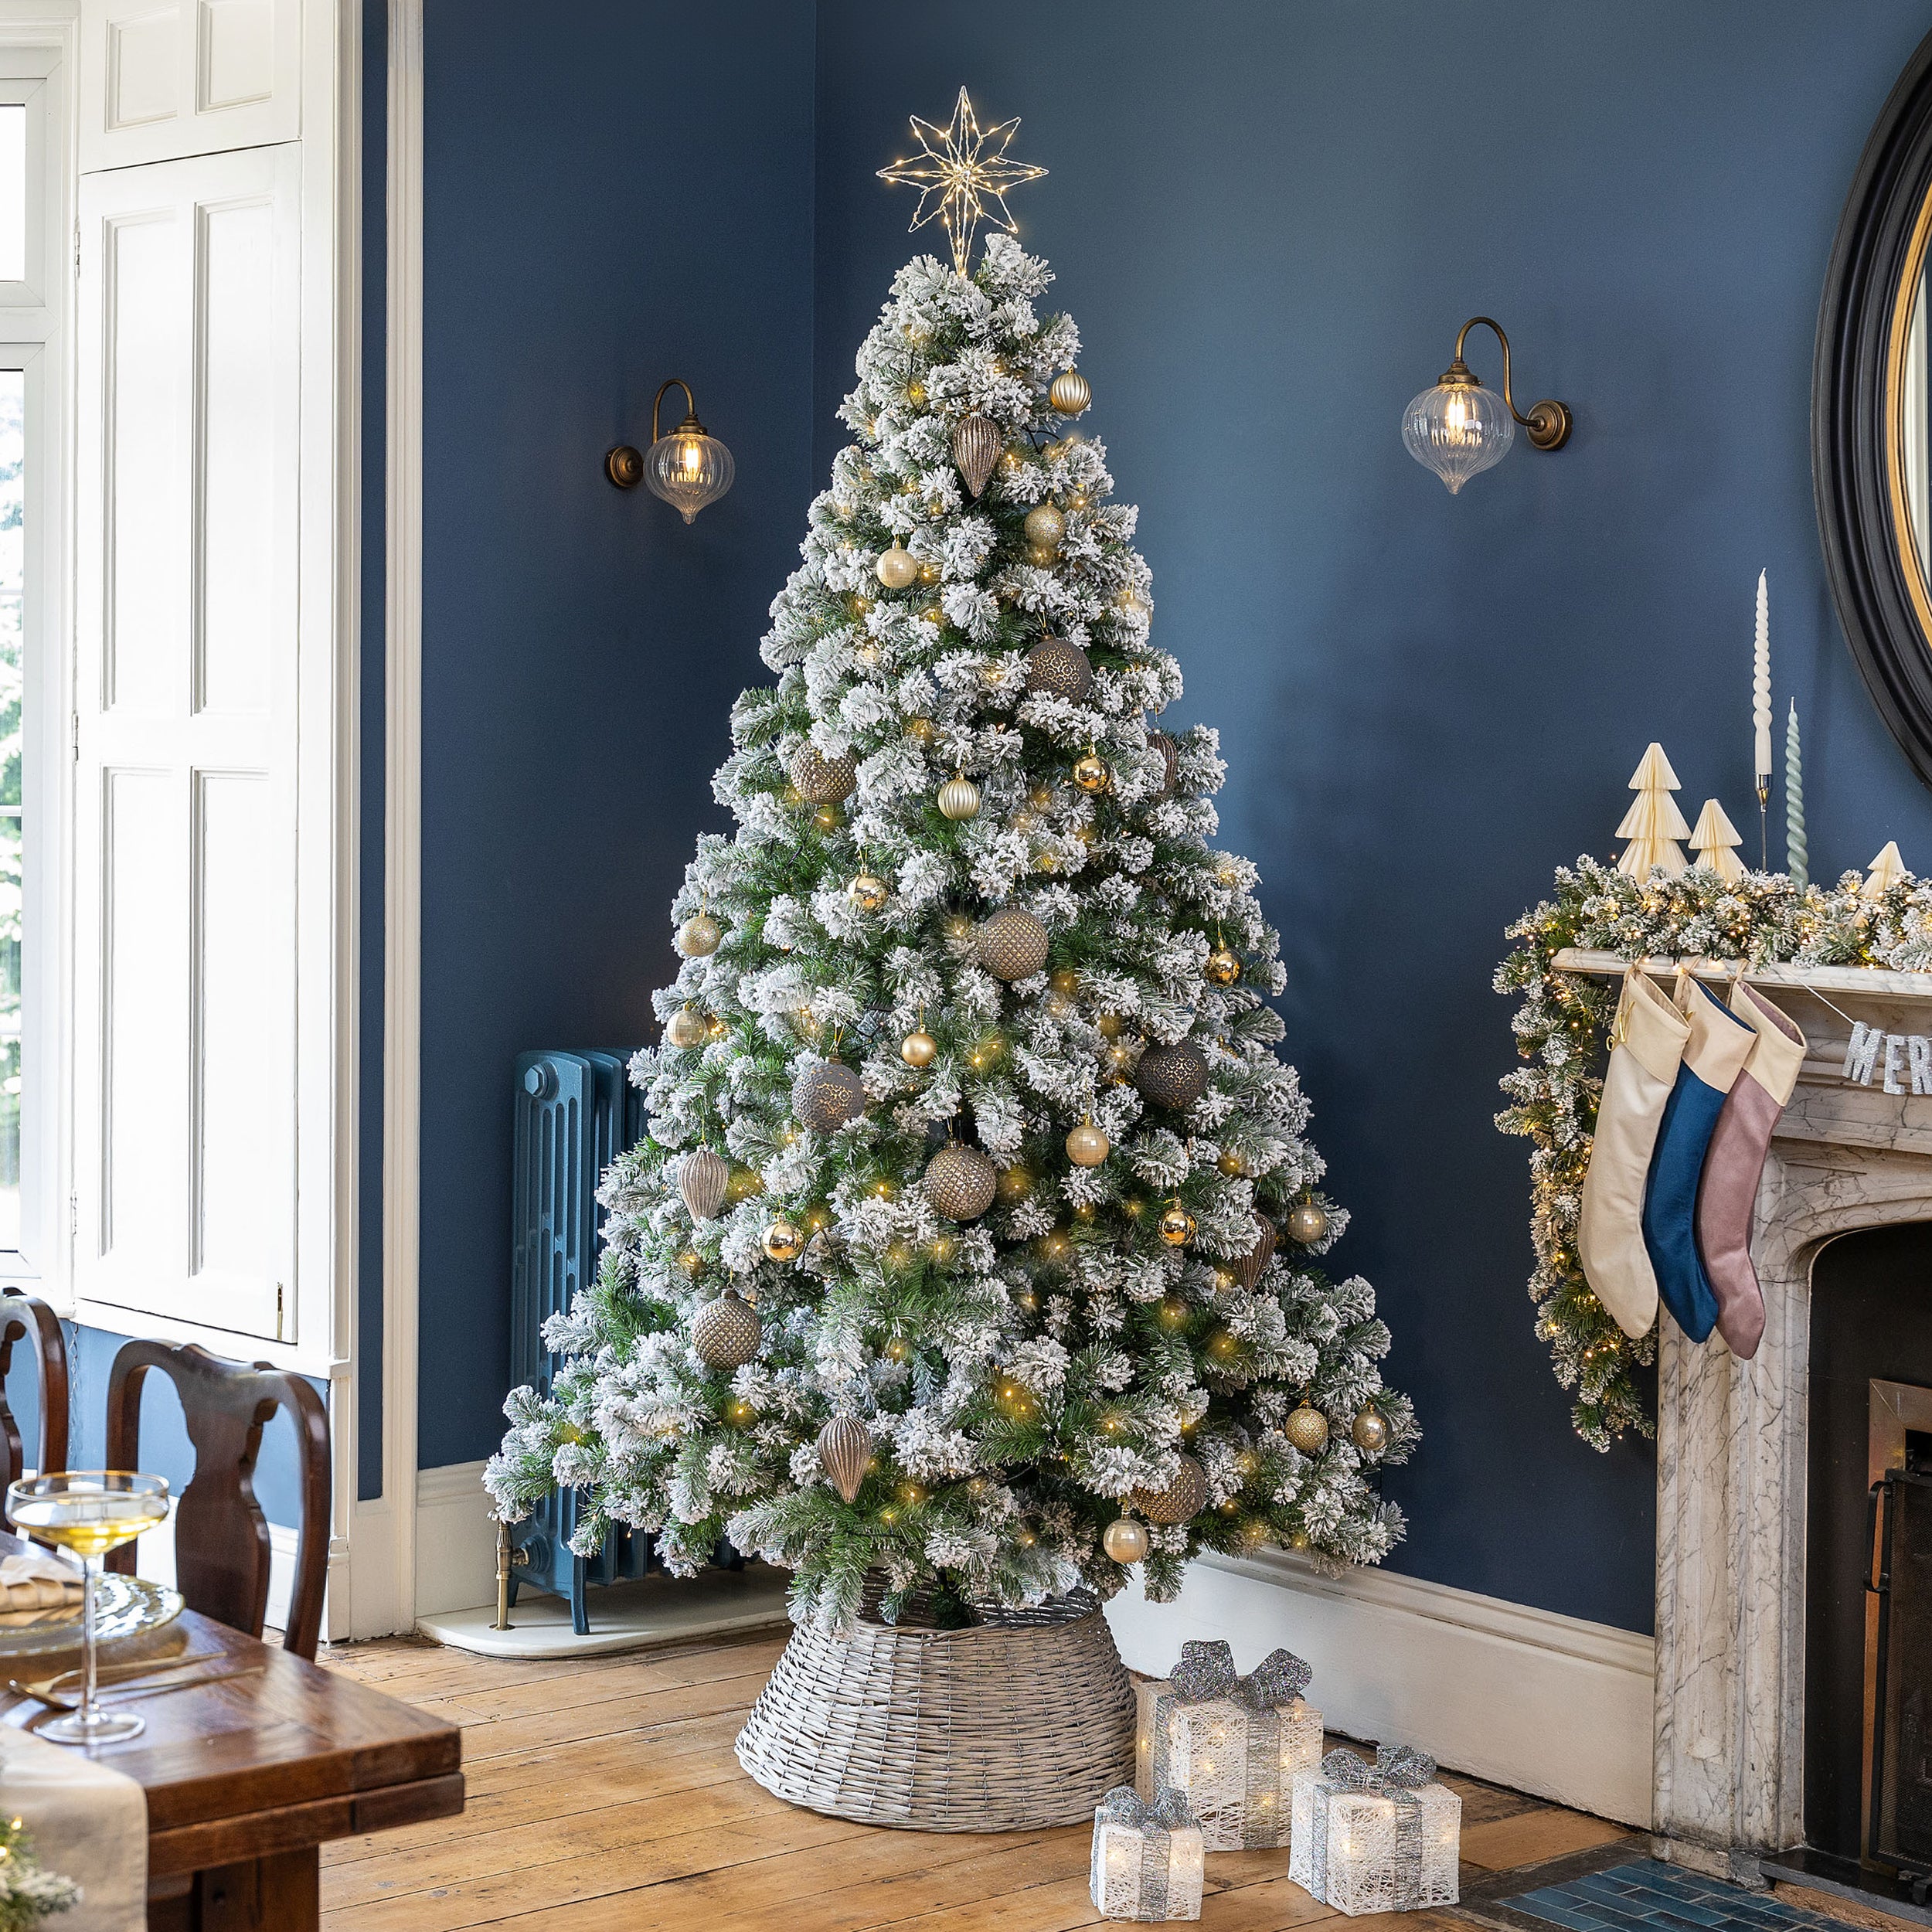
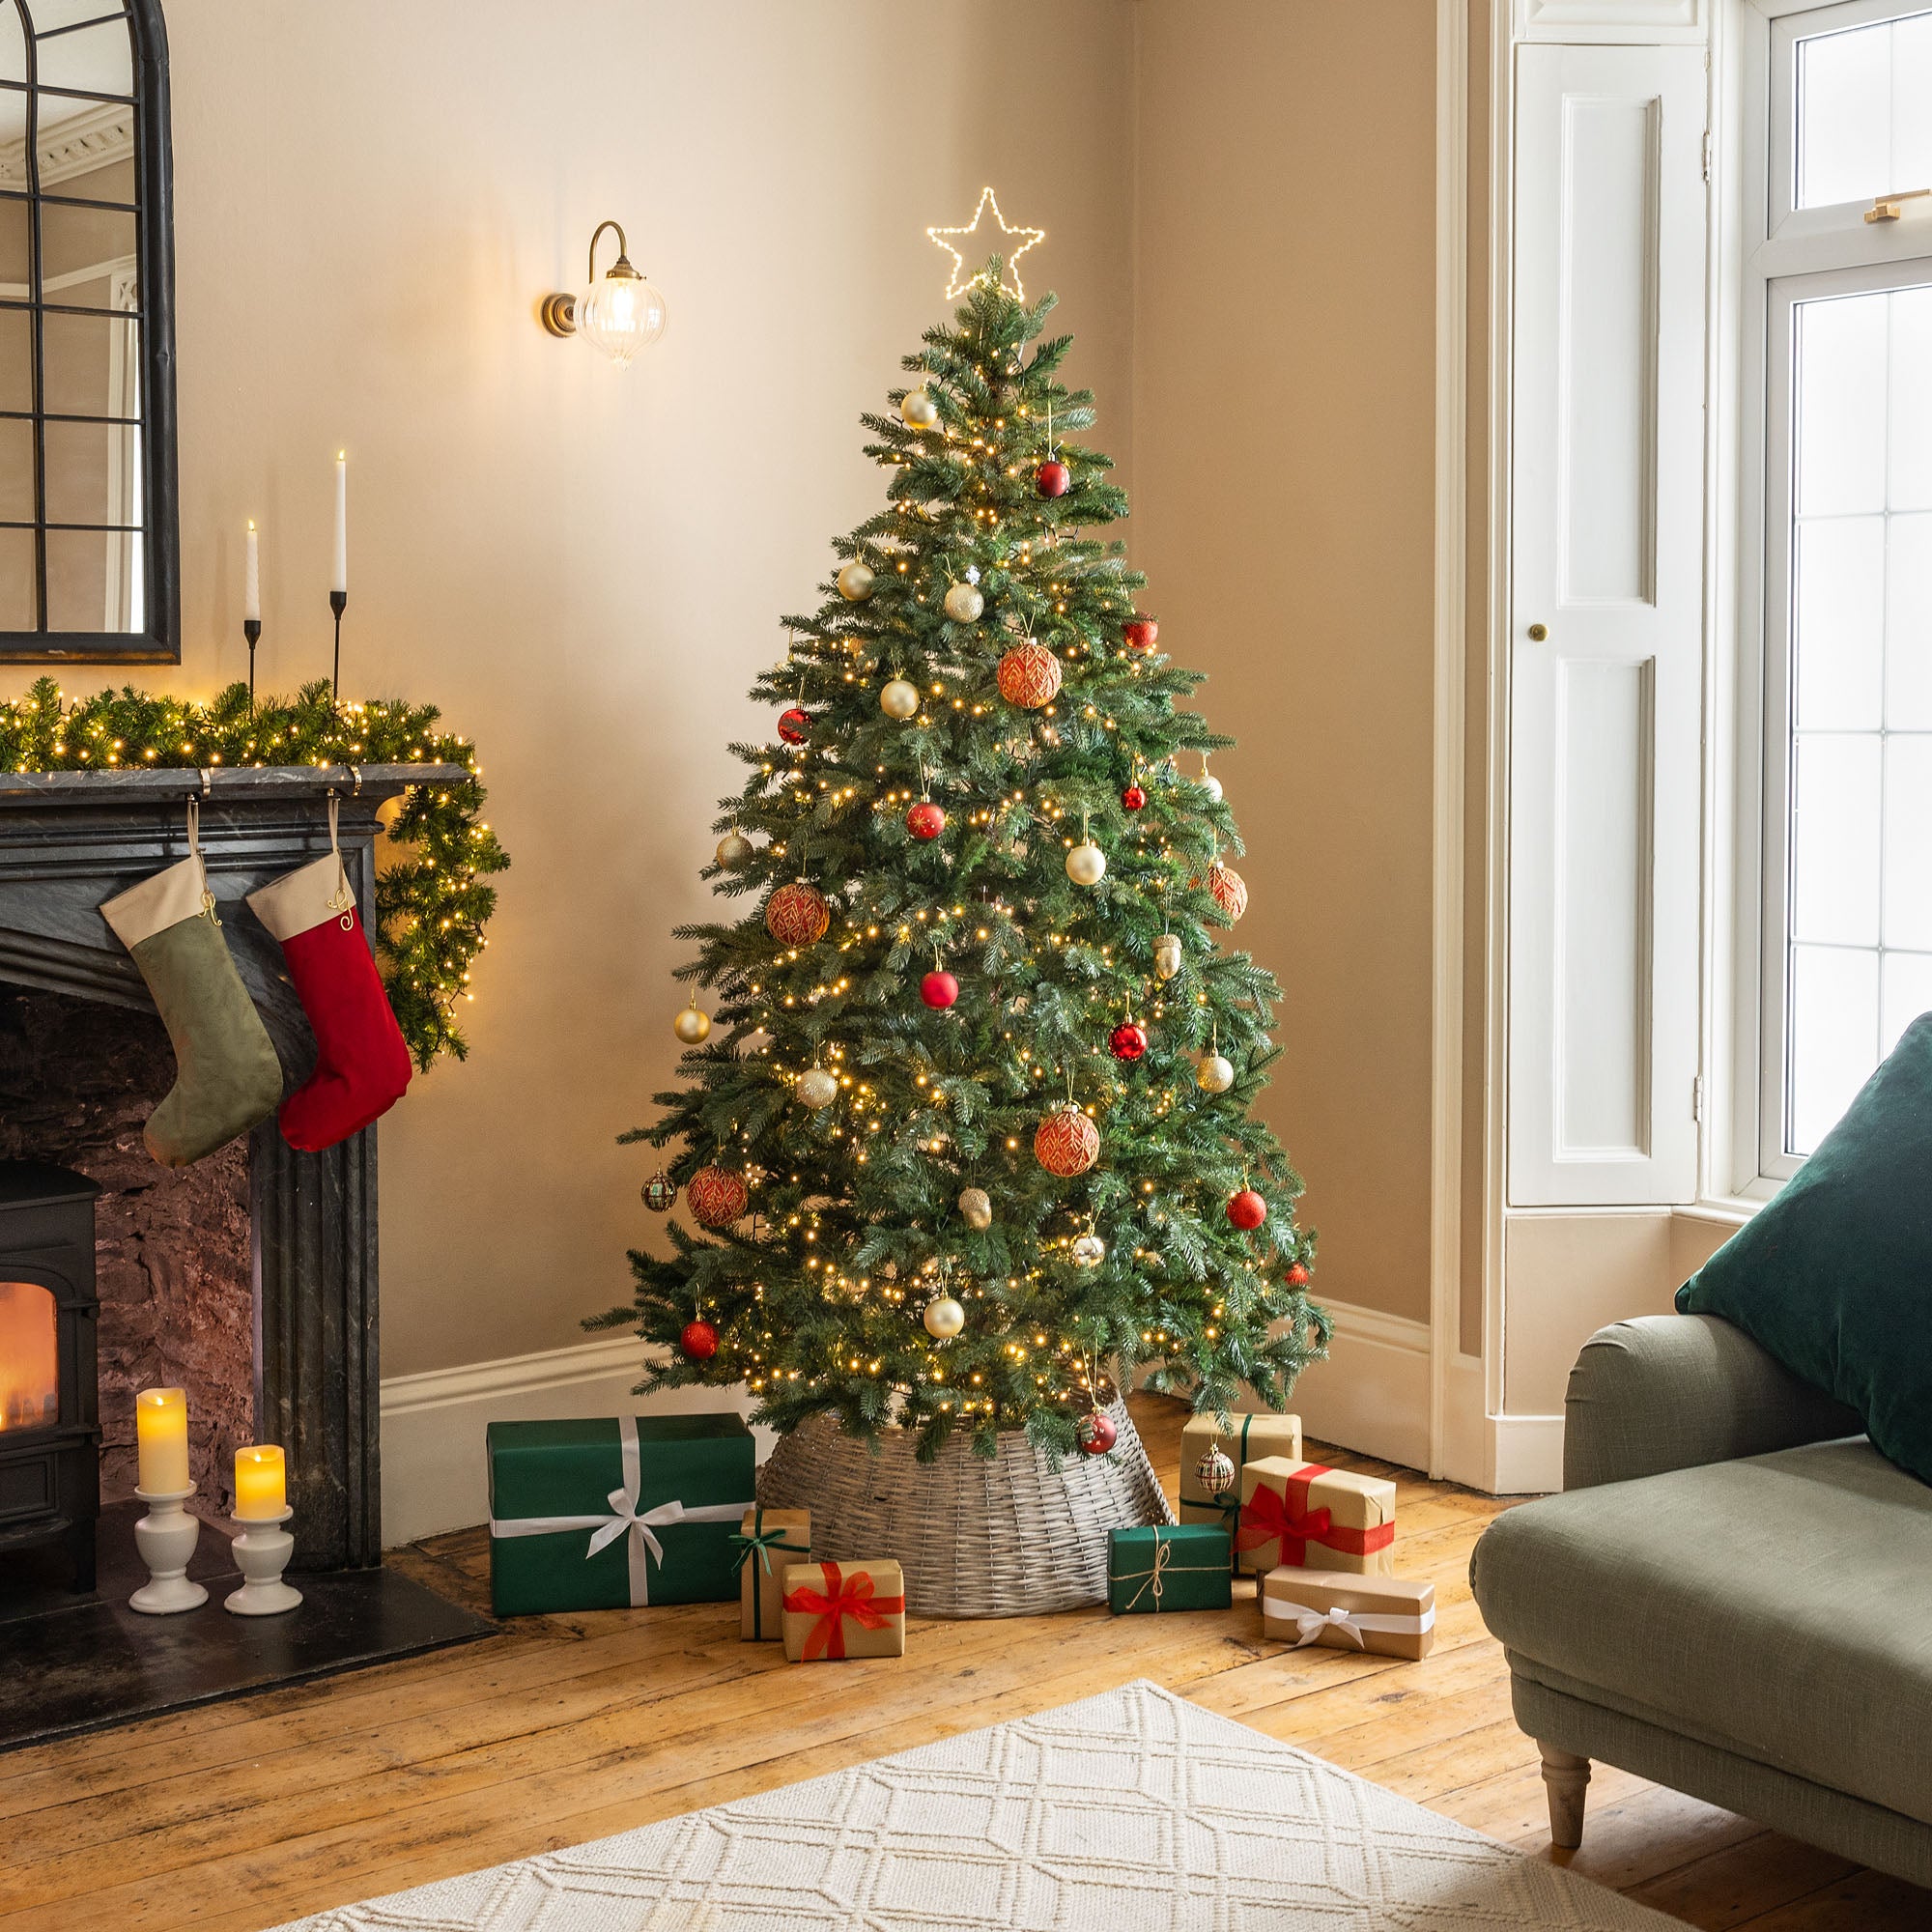
Once your tree is shaped, it’s time for the fun part: decorating! Start with string lights in your preferred colour. We have a range of string lights for you to choose from. The amount of bulbs... well that depends on how fun & festive you like your tree, but we've also written this handy guide to help. Alternatively, our pre-lit trees save you the hassle - they're wrapped in lights with a colour switch and multi-function features to make setting up your tree a breeze.
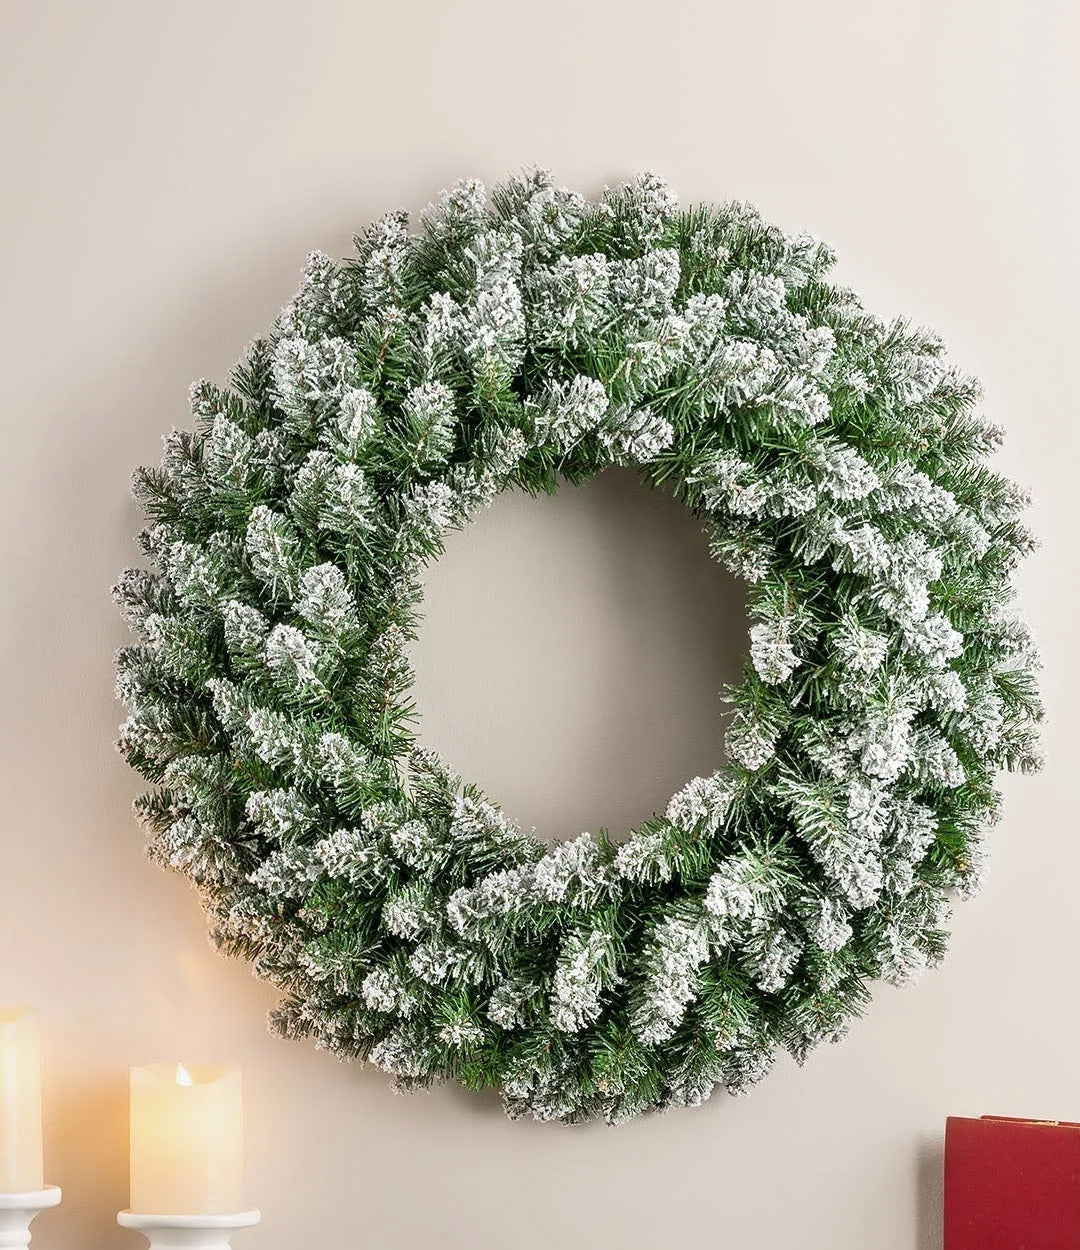
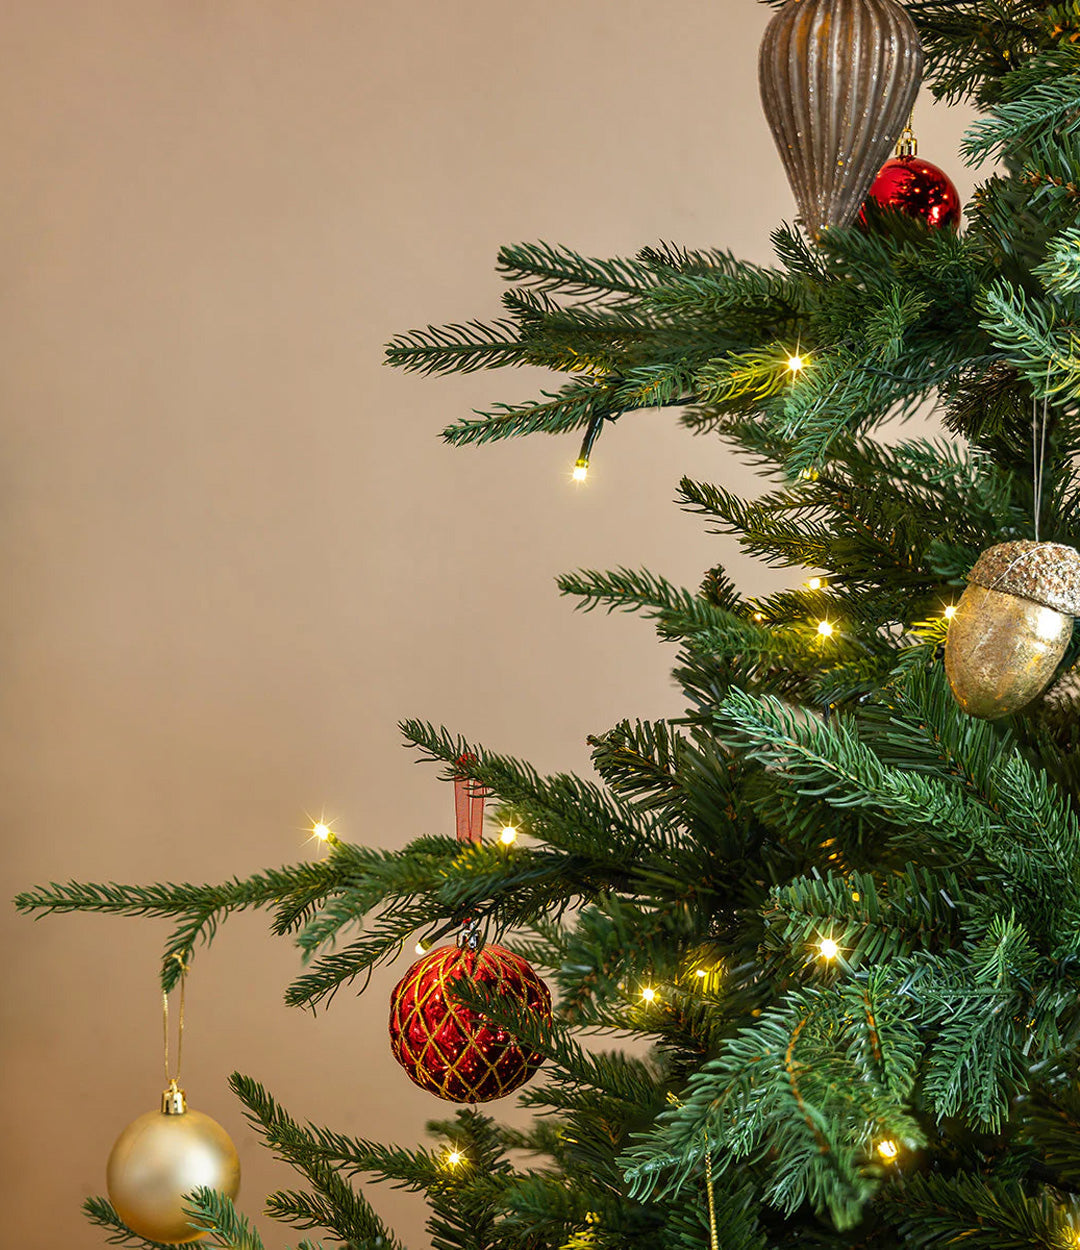
Then add baubles, tinsel, and ornaments to give it personality. Finally, place a topper for the finishing touch. Fabulous!